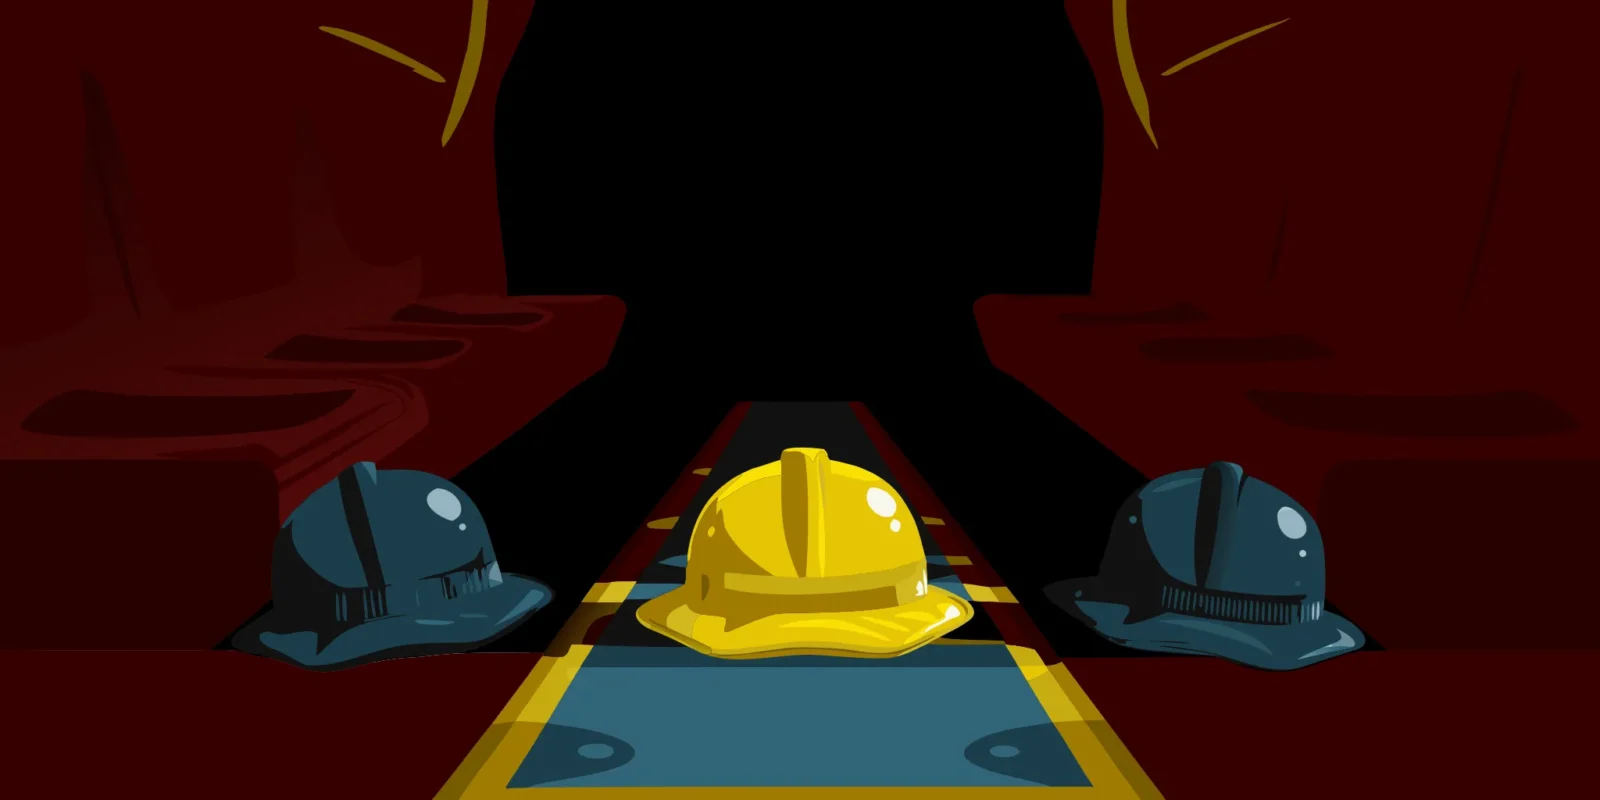
Your school’s safety signs don’t have to be generic and institutional. What if they could also reflect your school’s unique spirit? Custom signage allows you to create a safer campus while reinforcing your community identity. By incorporating your school colors, logo, or mascot, you can make safety messages feel more personal and engaging. This guide explores the benefits of creating custom signs tailored to your specific needs. We’ll cover how to design effective, age-appropriate messages and work with a local partner to bring your vision to life, all while ensuring you properly teach the essential safety signs and symbols for students.
Key Takeaways
- Create a purpose-driven signage plan: Start by walking through your school to identify specific hazards and high-traffic areas. This helps you choose durable materials and place signs where they will be seen most easily.
- Make sign education an ongoing lesson: Don’t just put up signs and hope for the best. Actively teach students what symbols mean through classroom activities and safety drills to build a true culture of awareness.
- Focus on clear design and official standards: An effective sign communicates its message in a split second. Use simple layouts, bold colors, and universal symbols, and follow compliance guidelines to ensure everyone understands.
Why Are Safety Signs Important in Schools?
In a bustling school, a simple visual cue makes all the difference. Safety signs are the silent guardians of your hallways and classrooms, working to prevent accidents and guide behavior. They provide clear, immediate instructions that enforce school rules and keep everyone safe. From directing traffic to marking emergency exits, these signs create a secure atmosphere where students can focus on learning. Think of them as a key part of your school’s safety plan. Well-placed safety materials act as constant reminders that protect your community by communicating critical information quickly and effectively.
Common Types of School Safety Signs
Not all signs serve the same purpose. School safety signs fall into a few key categories. Prohibition signs tell you what you must not do (“No Entry”), while mandatory signs tell you what you must do (“Safety Goggles Required”). Warning signs alert you to potential dangers, like a “Wet Floor” sign. Safe condition signs point the way to safety, including “First Aid” or “Emergency Exit” markers. Finally, fire safety signs help locate firefighting equipment. Understanding these types helps you choose the right sign for every situation on campus.
How Signs Support Student Learning
Safety signs are also powerful teaching tools. They introduce students to a universal visual language they will encounter for the rest of their lives. Integrating sign recognition into your curriculum helps students truly understand what each symbol means, a critical skill for real-world safety. You can feature a “sign of the week” to teach about different community and safety symbols in an engaging way. This approach turns a compliance tool into an active part of your educational mission, empowering students to be more aware and responsible.
Decoding Colors and Shapes
Have you ever noticed that stop signs are always red and octagonal? That’s by design. The colors and shapes of safety signs are standardized to convey messages instantly. Red typically signals danger or prohibition, while yellow serves as a warning. Green indicates safety, and blue points to mandatory actions. A triangle often means “warning,” while a circle indicates a required or prohibited action. These standards, set by groups like ANSI, create a consistent system that helps everyone quickly understand a sign’s meaning without reading the text.
What Makes a Safety Sign Effective?
An effective safety sign does more than just exist; it communicates clearly and instantly to everyone who sees it. In a busy school environment, a sign’s message has to cut through the noise and be understood in a split second. The difference between a good sign and a great one comes down to thoughtful design, audience-appropriate messaging, and a commitment to inclusivity. When these elements work together, signs become powerful tools for keeping students and staff safe.
Key Elements of a Clear Design
A well-designed safety sign grabs attention and delivers its message without causing confusion. The best signs use a simple, clean layout with high-contrast colors and bold, easy-to-read fonts. They focus on one clear message, showing a potential hazard and explaining the necessary action to stay safe. Using standardized symbols and colors is also crucial. These universal designs ensure that the meaning is consistent and quickly understood by everyone. Following established design standards helps create a visual language that protects your entire school community, making safety intuitive rather than something people have to stop and decipher.
Using Age-Appropriate Messaging and Symbols
The message on a sign needs to connect with its intended audience, and in a school, that audience spans a wide range of ages. For younger students, simple pictograms and minimal text are most effective. Think of a clear symbol for “no running” in a hallway or a “slippery when wet” icon near a puddle. For older students, you can include more detailed instructions, but clarity remains key. Some elementary schools even find success with a “sign of the week” program to directly teach students what different symbols mean, turning safety into an active part of their learning.
Supporting a Multilingual Campus
In a diverse school community, safety information must be accessible to everyone, regardless of the language they speak. This is where universal symbols are incredibly valuable, as they convey meaning without relying on words. For signs that do require text, such as emergency procedures or specific instructions, providing bilingual or multilingual information is essential. Using standard colors and shapes helps bridge language gaps, as these elements are often recognized globally. By ensuring your safety materials are easy to understand, you create a more inclusive and secure environment for every student, parent, and staff member on campus.
Essential Safety Signs for Every School
While every campus has its own unique layout and specific needs, a foundational set of safety signs is essential for any educational environment. These signs act as silent guides, providing critical information at a glance to protect students, staff, and visitors. From directing orderly evacuations to warning of potential hazards, clear and effective signage is one of the most important investments a school can make in its safety infrastructure. By implementing these core signs, you create a more secure and prepared campus for everyone.
Emergency Exits and Evacuation Routes
In an emergency, every second counts. That’s why clear signs marking emergency exits and evacuation routes are absolutely critical. These informational signs must be easy to spot, guiding everyone along the safest path out of the building. Think of them as a visual map that students and staff can follow even under stress. To be effective, these signs should be well-lit and placed at consistent intervals along hallways and in large spaces like cafeterias and auditoriums. Regular drills help reinforce these visual cues, ensuring everyone knows the evacuation plan and can exit calmly and quickly when it matters most.
Fire Safety and Equipment Locations
When a fire starts, quick access to the right equipment can prevent a small problem from becoming a catastrophe. Fire safety signs use a distinct, universally recognized color scheme, typically a bold red with white graphics, to show where fire-fighting equipment is located. These signs point the way to fire extinguishers, alarms, and hoses, ensuring trained staff can find them without hesitation. Placing these signs above the equipment makes them visible from a distance, even in a crowded or chaotic hallway. Consistent and clear labeling is a key component of any school’s fire prevention strategy.
Hazard and Warning Signs
Schools have many areas that can pose a risk if proper caution isn’t taken. Hazard signs use simple, understandable pictures to warn everyone about potential dangers, from slippery floors in the hallway to high voltage panels in a utility closet. These signs often feature a yellow triangle to signal a warning, alerting people to be careful. Because they rely on universal symbols, these signs effectively communicate risks to everyone, including young children and visitors who may not speak the language. They are a simple yet powerful tool for preventing everyday accidents and keeping the campus safe.
Lab and Classroom-Specific Signs
Specialized learning environments like science labs, art studios, and workshops come with their own unique safety requirements. Classroom-specific signs help enforce rules and procedures that are vital in these spaces. These signs often use a color-coded system to communicate different types of messages. For example, a blue sign indicates a mandatory action, like “Eye Protection Required,” while a yellow sign warns of a nearby hazard. Green often points to safety equipment like an eyewash station. Creating custom safety materials for these rooms ensures every student understands the specific rules needed to learn safely.
Playground and Common Area Rules
Playgrounds, gyms, and cafeterias are hubs of activity, but they can also be hotspots for accidents. Safety signs in these common areas help establish clear rules and prevent injuries by reminding students of expected behavior. Simple, direct messages with graphics, such as “No Running” or “Use Both Hands on the Ladder,” can significantly reduce tumbles and falls. These signs help keep students organized and mindful of their surroundings during less structured times of the day. By setting clear visual expectations, you can foster a safer environment for play and socialization.
How to Choose the Right Safety Signs
Selecting the right safety signs for your school goes beyond just picking a few from a catalog. It’s about creating a cohesive visual safety net that communicates clearly and effectively to everyone on campus, from the youngest students to staff and visitors. A strategic approach ensures that your signs are not just present, but powerful. Think of it as a four-part process: understanding your specific needs, meeting official standards, choosing the right materials, and planning for perfect placement.
When you approach signage with a clear plan, you invest in more than just printed materials; you invest in a safer environment. Each sign should have a purpose, whether it’s guiding people during an emergency, warning them of a potential hazard, or simply reinforcing school rules. The most effective safety materials are those that feel like a natural and helpful part of the school, seamlessly integrating into the daily flow of life on campus. By taking the time to consider each of these elements, you can build a signage system that truly protects your community and stands the test of time.
Assess Your School’s Unique Needs
Every school campus is different, so a one-size-fits-all approach to safety signage just won’t cut it. Before you order a single sign, take a walk through your buildings and grounds. Where are the high-traffic hallways? Are there specific hazards in the science labs or the art room? What are the rules for the playground or the pickup and drop-off zones?
Creating a full plan starts with a thorough school safety assessment. Consider the unique layout of your campus and the age of your students. The signs needed for a high school will differ from those for an elementary school. Think about potential risks and how clear visual cues can help prevent accidents. This initial assessment is the foundation for a signage system that is truly tailored to your community.
Meet Official Compliance Standards
Safety signs need to be clear, consistent, and universally understood, which is why official compliance standards are so important. Regulations from organizations like the Occupational Safety and Health Administration (OSHA) and the Americans with Disabilities Act (ADA) provide guidelines for color, text size, and symbol usage. Following these standards isn’t just about avoiding penalties; it’s about ensuring your signs are effective for everyone, including individuals with disabilities or those who speak different languages.
When you work with a print provider, make sure they are knowledgeable about these requirements. Using OSHA-compliant signage for hazard warnings and ADA-compliant signs for navigation helps create a predictable and secure environment. This consistency ensures that critical messages are recognized and understood instantly.
Select Durable, Weather-Resistant Materials
A faded, cracked, or peeling sign is not only ineffective but also reflects poorly on the school. The materials you choose are critical to the longevity and clarity of your safety messages. For outdoor signs, like those on playgrounds or marking parking areas, you’ll need weather-resistant options like aluminum or heavy-duty vinyl that can stand up to sun, rain, and wind without deteriorating. For indoor signs in busy hallways, choose materials that resist scratches and are easy to clean.
Investing in high-quality, large format printed signs from the start saves you money and hassle in the long run. Durable materials ensure your safety messages remain vibrant and legible for years, providing a reliable return on your investment and keeping your campus looking professional and well-maintained.
Plan for Visibility and Placement
A perfectly designed sign is useless if no one can see it. Strategic placement is just as important as the sign’s content. When installing signs, think about sightlines from a student’s perspective. Are they placed at an appropriate height? Are they well-lit and free from obstructions like overgrown plants, open doors, or other notices? For critical instructions, like evacuation routes, ensure they are located at every decision point, such as hallway intersections and near stairwells.
The goal is to make safety information impossible to miss. Consider the environment and what might draw attention. For example, placing signs against a contrasting background color can make them pop. A thoughtful placement strategy ensures your signs serve their purpose by capturing attention and clearly communicating their message when it matters most.
Common Myths About School Safety Signs
Putting up safety signs around campus is a fundamental step in protecting students and staff, but it’s not the whole story. Many schools operate under a few common misconceptions that can undermine the effectiveness of their signage. Believing that signs are a passive, one-and-done solution can create gaps in your safety plan. To truly create a secure environment, it’s important to see signs as an active part of your communication strategy, one that requires a bit of ongoing attention and education.
Let’s clear up a few of these myths. Understanding how signs really work within a school community helps ensure they do their job: keeping everyone informed and out of harm’s way. From the playground to the science lab, effective signage is about more than just the sign itself; it’s about how people interact with it. By addressing these common misunderstandings, you can make sure your school’s safety signs are as effective as possible.
Myth: Signs Work Without Any Training
It’s easy to assume that a sign’s message is self-explanatory, but that’s a risky bet, especially with children. Simply installing a sign doesn’t guarantee it will be understood or followed. Misinterpretation can lead to dangerous situations, turning a well-intentioned warning into a point of confusion. Think of signs as tools; for them to work correctly, people need to know how to use them.
That’s why training is so important. Integrating sign education into safety drills and classroom lessons helps students connect symbols with actions. When you teach students what a sign means, you’re giving them the knowledge to make safe decisions independently. This proactive approach to safety ensures that your signs aren’t just decorations but active, understood instructions that protect your entire school community.
Myth: You Can Set Them and Forget Them
A school is a dynamic environment, and your safety protocols should be, too. The idea that you can install signs and never think about them again is a major oversight. Over time, rules change, campus layouts are modified, and new risks emerge. A sign that was accurate last year might be irrelevant or even misleading today. For example, a change in pickup procedures or the addition of a new building requires updated directional and warning signs.
To keep your campus safe, you should review your safety materials at least once a year. Check for faded paint, damage, or outdated information. If a new rule is implemented, signs should be updated immediately to reflect the change. Regular maintenance ensures your signs remain visible, relevant, and effective for everyone on campus.
Myth: All Students Recognize Every Symbol
We often take for granted that common safety symbols are universally understood, but that’s not always the case for students. A young child or a student new to the country may not recognize a symbol that seems obvious to an adult. In a school with hundreds of students, busy hallways, and active play areas, even a small misunderstanding can cause a problem. Assuming everyone has the same baseline knowledge can lead to preventable accidents.
This is why clear, consistent education is key. Don’t just assume students know what a symbol means; teach them. Using standardized, easily recognizable symbols helps, but reinforcement is what truly builds understanding. By actively teaching the meaning behind the signs in your school, you empower students to recognize potential hazards and follow safety rules, creating a more secure environment for everyone.
Creating Custom Safety Signs for Your School
While standard safety signs get the job done, creating custom signs for your school offers a unique opportunity to integrate safety messaging directly into your campus culture. Customization allows you to address specific situations unique to your buildings and grounds, all while reinforcing your school’s identity. Instead of using generic templates, you can design signs that speak directly to your students and staff in a way that feels familiar and supportive.
The Benefits of Custom Signage
Custom signage transforms a simple warning into a piece of your school’s community. By adding your logo, mascot, or school colors, you make safety messages feel less institutional and more personal. This approach helps foster a stronger sense of belonging and school pride. More importantly, you can tailor the language and symbols to be perfectly clear for your student population, from the youngest learners to high schoolers. Custom safety materials also allow you to create signs for unique school rules or specific campus locations that off-the-shelf options simply don’t cover, ensuring every corner of your school is clearly and effectively marked.
Working With a Local Print Partner
Partnering with a local printer for your school’s safety signs makes the entire process smoother and more collaborative. A local team understands the community and can provide personalized service that you won’t find with a national online retailer. You can have a direct conversation about your school’s specific needs, review material samples, and get expert advice on the best solutions for your budget and environment. This partnership ensures your signs are produced quickly and efficiently, so you can get them installed right away. Working with a local provider means you have a reliable resource for any future printing needs.
What to Look for in a Sign Provider
When choosing a provider, prioritize quality and durability. Your school’s signs need to last, so look for a company that uses industry-grade materials designed for longevity. Signs in playgrounds, parking lots, and athletic fields must be weather-resistant, while those in science labs or art rooms may need to withstand chemicals or frequent cleaning. Ask potential providers about their large format printing capabilities and the types of materials they offer. A great sign provider will guide you toward the right choices to ensure your signs remain vibrant, legible, and effective for years to come, keeping your students safe and informed.
How to Teach Students to Recognize Safety Symbols
Putting up clear, compliant safety signs is the first step, but it’s not the last. For signs to be truly effective, students need to understand what they mean at a glance. This requires proactive teaching that goes beyond a single lesson. Integrating safety symbol education into your school’s curriculum helps create a prepared and aware student body. By making learning a continuous and engaging process, you can ensure that every student knows how to react in an emergency and navigate their environment safely. The key is to use consistent, creative methods that reinforce these important visual cues. Here are a few practical strategies to get you started.
Use Interactive Learning Activities
The best way to help students remember safety symbols is to make learning active and fun. Instead of just showing flashcards, try incorporating interactive learning activities that connect symbols to real-world situations. You could organize a scavenger hunt where students find specific signs around the school and explain their meaning. Another great idea is a matching game with symbols and their descriptions. For older students, you can create scenarios where they have to decide the correct action based on a warning sign. These hands-on methods help students build a stronger connection to what each sign represents, making the information much more likely to stick.
Create a “Sign of the Week” Program
To avoid overwhelming students with too much information at once, consider implementing a “Sign of the Week” program. This approach allows you to focus on one safety or community sign at a time, giving everyone a chance to learn it thoroughly. You can introduce the sign during morning announcements, discuss it in classrooms, and post it prominently in common areas. This repetition reinforces recognition and provides a great opportunity for deeper conversations about why the sign is important. Over the course of the school year, you’ll cover a wide range of symbols in a way that’s manageable and memorable for students of all ages.
Develop a School-Wide Awareness Program
Turn safety education into a campus-wide initiative. A school-wide awareness program helps build a culture where safety is a shared responsibility. You can kick off the year with a safety assembly or create a student-led safety committee that presents information to their peers. Consider using dynamic displays near high-traffic areas to draw attention to important safety messages. The goal is to make safety a visible and ongoing conversation throughout the school. By integrating these lessons into the fabric of your school’s daily life, you ensure that awareness isn’t just a one-time event. High-quality safety materials are the foundation of any great program.
How to Install and Maintain Your Signs
Once you have your safety signs, the next step is putting them to work. Effective installation and regular upkeep are just as important as the design itself. A sign can’t do its job if it’s hidden, damaged, or out of date. Proper placement ensures your messages are seen by everyone who needs them, while a simple maintenance routine keeps your campus safe and compliant year after year. Think of it as the final, crucial step in bringing your safety plan to life.
Setting up a clear process for installing and checking your signs helps protect your students and staff. It also ensures your investment in high-quality signage continues to pay off. Let’s walk through how to get your signs properly placed and create a simple schedule to keep them in top condition.
Ensure Proper Placement for Visibility
Where you place a sign determines whether it gets noticed. Always install signs at eye level in clear, unobstructed locations where they are easy to spot. Think about the path a student or visitor would take and place signs at key decision points, like hallway intersections or near entrances to specific areas like labs or playgrounds. Good lighting is also essential. For outdoor signs or dimly lit areas, consider using materials with reflective surfaces. Well-placed, high-visibility safety signs are one of the most effective ways to prevent accidents and guide behavior, making your school a safer environment for everyone.
Follow a Regular Inspection Schedule
Safety signs aren’t a “set it and forget it” solution. Create a simple inspection schedule, perhaps once a semester or at the beginning of each school year, to check on them. During your walkthrough, look for any signs of fading, graffiti, or physical damage that might make them hard to read. It’s also the perfect time to confirm the information is still accurate. If safety protocols change or new risks emerge, signs should be updated immediately. Staying on top of maintenance ensures your signs always meet current compliance standards and effectively communicate the right message.
Related Articles
Frequently Asked Questions
We’re thinking about updating our school’s signs. Where should we even begin? A great first step is to walk through your campus and perform a simple safety assessment. Look at your school from the perspective of a new student or visitor. Identify high-traffic areas, potential hazards, and any spots where instructions are unclear. This walkthrough will help you create a list of your specific needs, which is the perfect foundation for developing a comprehensive signage plan.
How can we make sure our signs are effective for everyone, including younger students and non-English speakers? The key is to focus on universal communication. Use clear, standardized symbols and high-contrast colors that are easily understood without relying on text. For younger children, simple pictograms are most effective. In a diverse community, incorporating universally recognized symbols is essential, but you can also consider bilingual signs for critical instructions to ensure every member of your community feels safe and informed.
How often do we need to check or replace our safety signs? You should plan to inspect all your safety signs at least once a year. A school is a constantly changing environment, so it’s important to check for any physical damage, fading, or outdated information. A quick walkthrough at the start of the school year is a great habit to get into. This ensures your signs remain accurate, visible, and compliant with any safety standards.
Are custom signs with our school logo really necessary? While not strictly necessary, custom signs offer significant benefits. Incorporating your school’s colors or mascot makes safety messaging feel more integrated and less institutional, which can help students connect with the rules. More importantly, customization allows you to create signs for unique situations on your campus that standard signs might not cover, ensuring every rule and warning is communicated clearly.
Besides putting up signs, what else should we do to make sure students pay attention to them? Signs work best when they are part of a larger conversation about safety. You can make learning about signs an active part of school life by introducing a “sign of the week” during announcements or creating fun activities like a scavenger hunt. When you teach students what the symbols mean and why they matter, you empower them to make safer choices on their own.