
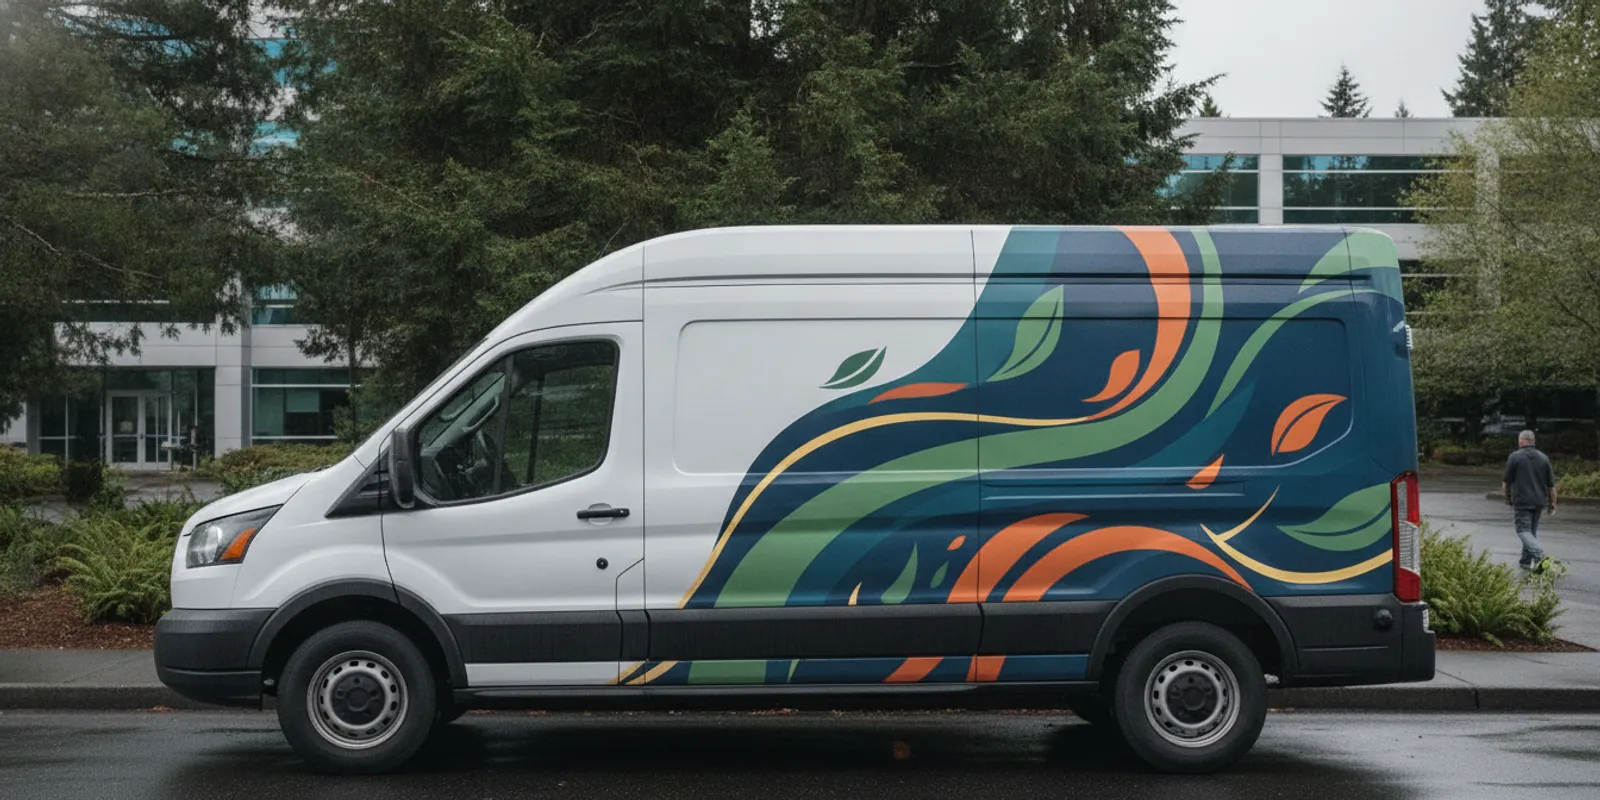
Custom truck wraps for businesses can turn a work vehicle into a visible part of your brand while it is parked at a job or moving through the community. A successful wrap is not simply a large graphic placed on a truck. It is a coordinated plan for the vehicle’s shape, the information people need to read, your artwork, and the installation schedule. Portland businesses can make those decisions easier by starting with the actual truck and the way their team uses it.
Start with the truck and the job it needs to do
Before choosing colors or writing a headline, identify what the truck is meant to communicate. A service truck that visits customer locations may need clear company identification and a simple way to make contact. A fleet vehicle traveling between work sites may need a recognizable brand from a distance. A vehicle used for deliveries may need its graphics to support a consistent impression across multiple neighborhoods. The right design depends on the vehicle’s role, not just the size of its doors.
Write down the main audience and the setting where people will see the truck. Will it spend more time parked curbside, inside a job site, in a lot, or moving on busy streets? Will a person have a few seconds to notice it, or can someone walk up and read more detail? These answers help determine whether the design should prioritize a bold brand mark, a service description, a phone or web contact, or another essential message.
- Set one primary objective. Decide whether the wrap should build recognition, identify a service vehicle, promote a particular service, or support a coordinated fleet appearance.
- Choose the primary audience. Consider who encounters the truck and what information they need to remember.
- List the must-have content. Keep the required name, logo, service description, contact information, and any required identifiers together before artwork begins.
- Identify what can be omitted. A wrap has limited viewing time and area. A long list of offerings can make the most important message harder to notice.
APM PrintWorks serves businesses and organizations around the greater Portland area. As a Portland-area local printer, the team can discuss a truck project with the vehicle and its intended use in mind. For an overview of available vehicle wraps and graphics, start with the service page; use the phrase truck wrap planning as a prompt when describing your project.
Choose a coverage approach before designing
There is no single coverage level that suits every truck. The body shape, branding goal, vehicle use, and budget all affect how much of the exterior should carry graphics. Discuss the options with your printer using the actual vehicle rather than relying only on a general description such as “full wrap” or “partial wrap.” Ask how the proposed coverage will work around the truck’s doors, cab, bed, trim, and other visible features.
| Coverage approach | What to consider | Useful planning question |
|---|---|---|
| Focused graphics | Selected areas can carry a logo, service identification, or contact details while leaving more of the vehicle’s original finish visible. | Which locations remain easy to see when the truck is parked or viewed from the road? |
| Partial coverage | Graphics occupy a planned portion of the truck and may use the vehicle’s existing color as part of the design. | Can the artwork connect cleanly across the selected panels and look intentional from each side? |
| Extensive coverage | A larger graphic area gives more room for a strong visual system, but requires careful planning around the body and its details. | How will the design treat door gaps, handles, windows, wheel openings, and any changes in panel shape? |
This table is a starting point for discussion, not a specification or price list. The actual amount of usable graphic area depends on the truck model, its condition, and the design. If you have more than one vehicle type, do not assume a layout that works on one cab and body will transfer unchanged to another. Ask for the design to be considered against each vehicle that will receive graphics.
It can also help to compare the wrap with other graphics needs around your business. For example, storefront window graphics or signs may share brand elements, but they serve different viewing situations. If those pieces are part of the same identity project, review the options for window graphics and custom signs so the truck and the location feel related without forcing the same layout onto every surface.
Map the design to the truck’s panels
A truck is not a flat rectangle. Its doors open, its body has seams and handles, and its panels may change height or angle. The same artwork can read differently on a cab, a service body, a pickup bed, or a box-style truck. Planning the design on a visual representation of the actual vehicle helps expose conflicts before production begins.
Start by gathering accurate vehicle information. Record the make, model, model year, body configuration, and any differences from the standard version. Note accessories or modifications that affect visible surfaces, such as racks, toolboxes, steps, mirrors, replacement panels, or added equipment. If the fleet includes more than one configuration, identify each one separately. Photos of the exact vehicles from both sides, the rear, and the front can help the design conversation, especially when a vehicle has unusual features.
Then think through the artwork panel by panel:
- Driver and passenger sides: Decide what a person should notice first and whether each side needs the same information. Consider how doors and seams interrupt graphics and lettering.
- Rear view: Identify what a driver or person behind the truck should be able to recognize. Keep the rear design purposeful and check how existing equipment or door construction affects available space.
- Cab and hood: Decide whether these areas need graphics at all. Their shape and viewing angle can make them behave differently from long side panels.
- Windows and openings: Flag every window, handle, light, plate, sensor, and other functional feature for the design and installation discussion. Do not assume a graphic should cover a feature just because it appears in a mockup.
- Transitions: Look at the design from a few steps back and from multiple angles. Important words, logos, or image details should not appear to break awkwardly at a gap or curve.
For each panel, name its job. One side might carry the clearest service message while the rear emphasizes recognition or a contact route. This does not mean every panel needs different artwork. A consistent system with intentional placement is usually easier to understand than repeating every detail in every location. Ask the design team to show the whole vehicle, not just a close-up of one attractive panel.
Make the message readable at a glance
People often see a branded truck briefly, from a distance, or while it is in motion. A practical design gives the most important information a clear visual priority. Start with the business name or recognizable mark, then decide what single supporting message is essential. A short service description or contact method may be more useful than filling every open area with additional copy.
Use a simple hierarchy. The main identity should be easiest to find. Supporting information should be visibly secondary, and decorative details should not compete with either. If the truck represents several services, choose a concise phrase that describes the work rather than squeezing a complete service catalog onto the body. A person who wants more detail can visit the business’s website or follow another contact path shown in the design.
- Review every line of copy for accuracy and necessity.
- Use contrast that makes important elements distinct from the vehicle and from each other.
- Check logos and lettering in the context of the whole panel, not only in an enlarged screen view.
- Consider what remains visible when a door is open or when the truck is parked beside another vehicle.
- Keep essential information away from panel breaks and other areas where the visual flow may be interrupted.
Think about what the wrap should still accomplish if a viewer only notices it for a moment. If the answer is unclear, simplify the message before approving detailed artwork. For a larger campaign that extends beyond vehicles, APM PrintWorks also provides creative services that can help a business plan visual materials as a coordinated project. Bring the same brand references and approved logo files to each design conversation.
Prepare useful artwork and brand files
Good source files make design review more straightforward. Gather the current logo in its best available format, brand colors, approved fonts if relevant, and the final wording for the vehicle. Tell the design team if a logo has alternate versions or if certain colors or proportions must remain unchanged. If you only have an image from a website or an old printed piece, share that fact rather than assuming it is suitable for a large graphic.
Separate confirmed information from ideas that are still under discussion. Names, web addresses, phone numbers, service descriptions, and legal or operational identifiers should be checked by the business before they become part of the artwork. Assign one person to collect edits from colleagues and send a consolidated set of corrections. That reduces the chance of conflicting feedback or overlooked changes.
If the design uses a photograph, illustration, or other supplied asset, identify where it came from and confirm that the business has permission to use it for this purpose. Keep the original files and any written brand guidance together. A clean handoff can include:
- Vehicle make, model, year, and body configuration for each truck.
- Clear photos of the actual vehicle, including modifications and accessories.
- Current logo and brand assets, with notes about approved versions.
- Final, proofread copy and the intended contact details.
- A brief description of the business objective, audience, and priority message.
- Any known vehicle-use constraints or scheduling needs that may affect the project.
If the wrap is one element of a wider identity system, consider how other formats will relate without requiring identical artwork. A sign, window graphic, or vehicle can share recognizable colors and marks while using a different amount of information for its setting. APM’s banner printing information is another example of a separate format with its own design and display considerations.
Plan installation around vehicle access
Installation is part of the project plan, not an afterthought. Decide which vehicles need graphics, where each one is based, and when it can be made available. For a single truck, coordinate a time when the vehicle can be taken out of normal use. For a fleet, consider whether vehicles can be handled in sequence and how long the business can operate with each one unavailable. The installation team can advise on project-specific requirements after reviewing the vehicles and scope.
Before the appointment, tell the provider about any unusual condition, repair, recent body work, or modification that could affect the panels. Ask what preparation is expected and how the vehicle should be presented. Do not presume that every truck is ready for installation in the same way. If several vehicles are involved, keep a simple schedule with vehicle identifiers, planned work, and the person responsible for access.
Also check how the design will be reviewed on site. A digital proof is valuable, but it should represent the correct vehicle and the agreed coverage. Confirm which version is approved, who has authority to approve it, and how any final corrections will be recorded. Ask questions before the work begins if a panel, feature, or visual transition is unclear.
When considering any graphic near a plate, light, window, mirror, or other vehicle feature, do not assume that an attractive mockup settles what is allowed or appropriate. Confirm the relevant requirements for the truck and its use before approving that placement. Oregon vehicle owners can consult the Oregon DMV for current vehicle guidance; contact the appropriate authority for questions that depend on a specific vehicle or use.
Keep multiple trucks consistent without ignoring differences
A shared fleet identity can make vehicles recognizable as part of the same business. Consistency does not mean every truck must have identical coverage or identical panel layouts. Different body styles may require different placements, and a work truck with specialized equipment may have less usable space than another vehicle in the fleet.
Create a short set of repeatable design decisions: which logo version to use, the primary colors, the order of key information, and the way contact details appear. Then document where adaptations are allowed. When the next vehicle is added, the team can use those decisions as a starting point while checking that the new layout fits its own body and function.
Keep a record of the approved proof and the vehicle details it was designed for. Note the date of approval, version of the artwork, and any vehicle-specific changes. When ordering graphics for a new truck, send that record along with updated photos and specifications. This gives the design team useful context without assuming an older layout can be copied exactly.
For organizations that use additional magnetic graphics or removable identification on some vehicles, discuss how those items will work alongside the main wrap instead of treating them as unrelated design pieces. APM’s page about magnetic graphics can help start that separate conversation. Confirm the intended use and vehicle-specific fit with the provider.
What to include in a truck wrap quote request
A focused request helps a printer understand the scope and identify questions early. You do not need to have every design decision made before asking for a quote. Share what is known, label what is undecided, and provide enough information to discuss the vehicle, coverage, artwork, and installation together.
- Vehicle details: Include make, model, year, body type, and the number of vehicles. List any variations within the group.
- Photos: Share current views of each vehicle and point out modifications or unusual features.
- Project goal: Explain what the graphics should accomplish and who is expected to see them.
- Coverage idea: Say whether you are considering focused graphics, partial coverage, or a larger wrap, while noting that the final plan is open to discussion.
- Artwork status: Identify which brand files and copy are ready and which still need review.
- Installation needs: Give the vehicle location and any scheduling or access constraints.
- Decision process: Name the person who will consolidate comments and approve the proof.
Request a project-specific quote rather than relying on a general estimate based on another truck. Vehicle size, configuration, coverage, design needs, and installation logistics can change the scope. Ask which assumptions the quote uses and whether any open decisions need to be settled before the project can be priced accurately. If your business is in the Portland area, working with a local printer can make it easier to discuss the actual vehicle, production plan, and installation needs in one conversation.
APM PrintWorks follows a collaborative “Dream, Plan, Create” approach: share the goal, work through the requirements, and move into production once the plan is clear. To discuss truck wrap planning and connect it with the company’s vehicle graphics service, prepare your vehicle details and project notes first.
Share your truck details and request a quote
Frequently Asked Questions
What information should I gather before requesting custom truck wraps for businesses?
Gather each truck’s make, model, year, and body configuration, along with current photos that show its sides, rear, front, and modifications. Also prepare the project goal, logo and brand files, draft copy, number of vehicles, and any installation scheduling needs. If a detail is not decided yet, identify it as an open question rather than guessing.
Should every truck in a fleet use the same wrap layout?
Not necessarily. A fleet can share core brand elements and a consistent information hierarchy while adapting the layout to different vehicle bodies and equipment. Review each truck separately so the graphics make sense on its actual panels, then retain a record of the approved design choices for future vehicles.
How do I choose between focused graphics, partial coverage, and extensive coverage?
Start with the audience, the truck’s use, and the message that matters most. Compare the available panel area and appearance on the actual vehicle, then ask the printer to explain how each proposed coverage plan affects the design and installation scope. The right choice is the one that fits the vehicle and communication goal, not a label alone.
Can I use my existing logo and artwork?
Often you can provide existing brand assets for consideration, but the design team needs to review the files and how they will be used at the scale and placement planned. Send the best available source files, note any brand requirements, and verify that supplied images or other assets are approved for this project.
How should I schedule installation for a group of work trucks?
List the vehicles, their locations, and when each can be unavailable. Ask the installation team to discuss a sequence that fits the project and business operations. Keep one person responsible for coordinating access, proof approvals, and vehicle handoff so details do not get lost between appointments.
Request a quote for your business truck wrap
With the vehicle details, message, artwork, and installation plan aligned, your team can move from a broad idea to a practical truck wrap brief that is ready for a project-specific conversation.