
Precise window measurements prevent expensive installation errors for custom vinyl graphics. Our detailed guide ensures every inch of your glass aligns perfectly with your storefront vision to create a professional look.
Ready to elevate your business presence with custom storefront graphics? Schedule a free consultation and site survey with APM PrintWorks today, or call our Portland team at (503) 270-5524.
Precise window measurements prevent expensive installation errors for custom vinyl graphics. Our detailed guide ensures every inch of your glass aligns perfectly with your storefront vision to create a professional look.How to measure windows for graphics involves getting the exact width and height of each glass pane at many points. Because window frames are rarely square, you should measure the height at the left, center, and right, and the width at the top, middle, and bottom. Using the smallest of these numbers ensures your vinyl graphic fits within the frame without bunching or folding. You must also note any parts like handles, locks, or metal strips that break the glass surface. As shown in the APM PrintWorks brand standards, precision in these numbers is key to ensure a perfect fit for large window jobs. Once you have these base numbers, adding a small amount of extra vinyl known as bleed allows for trimming during the final work. This careful planning prevents costly reprints and keeps your project on schedule.
Getting these numbers right saves time and money while helping you prepare for a clean result on your next branding project. Learning How to Measure Windows for Graphics: The Step-by-Step Guide ensures your storefront looks professional. The path begins with
How Do You Measure Windows for Graphics? A Step-by-Step Guide
Getting the right size is the most vital part of a new window display. You want your brand to look sharp and clean. Small errors in size can lead to gaps or wasted film. If you measure your storefront windows for graphics with care, our team can make the vinyl fit the glass area with ease. Good numbers mean a fast and easy setup at your shop. This step prevents delays and ensures your project stays on budget.
Needed tools for the job
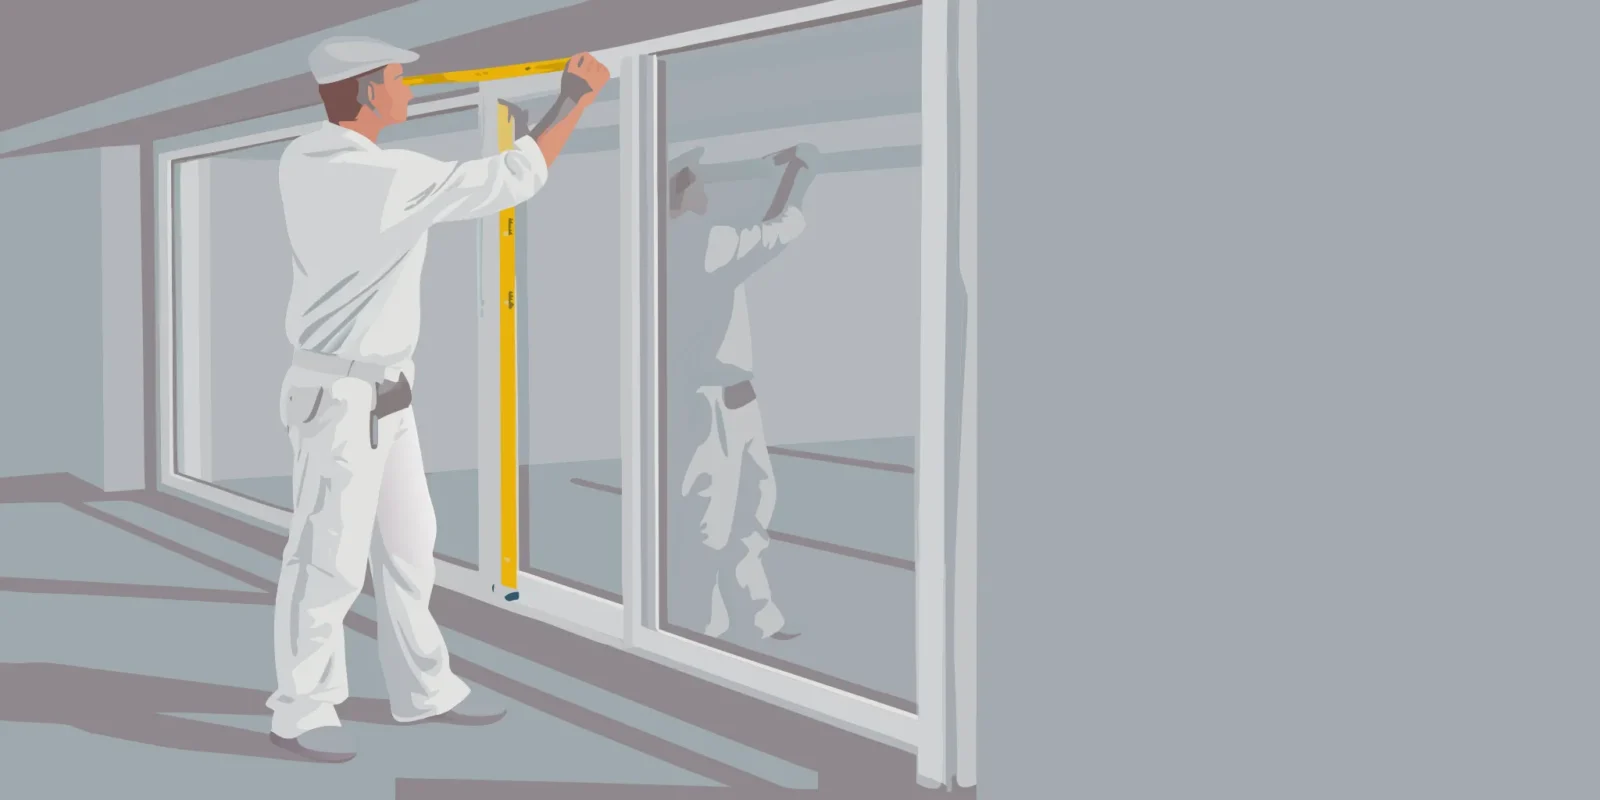
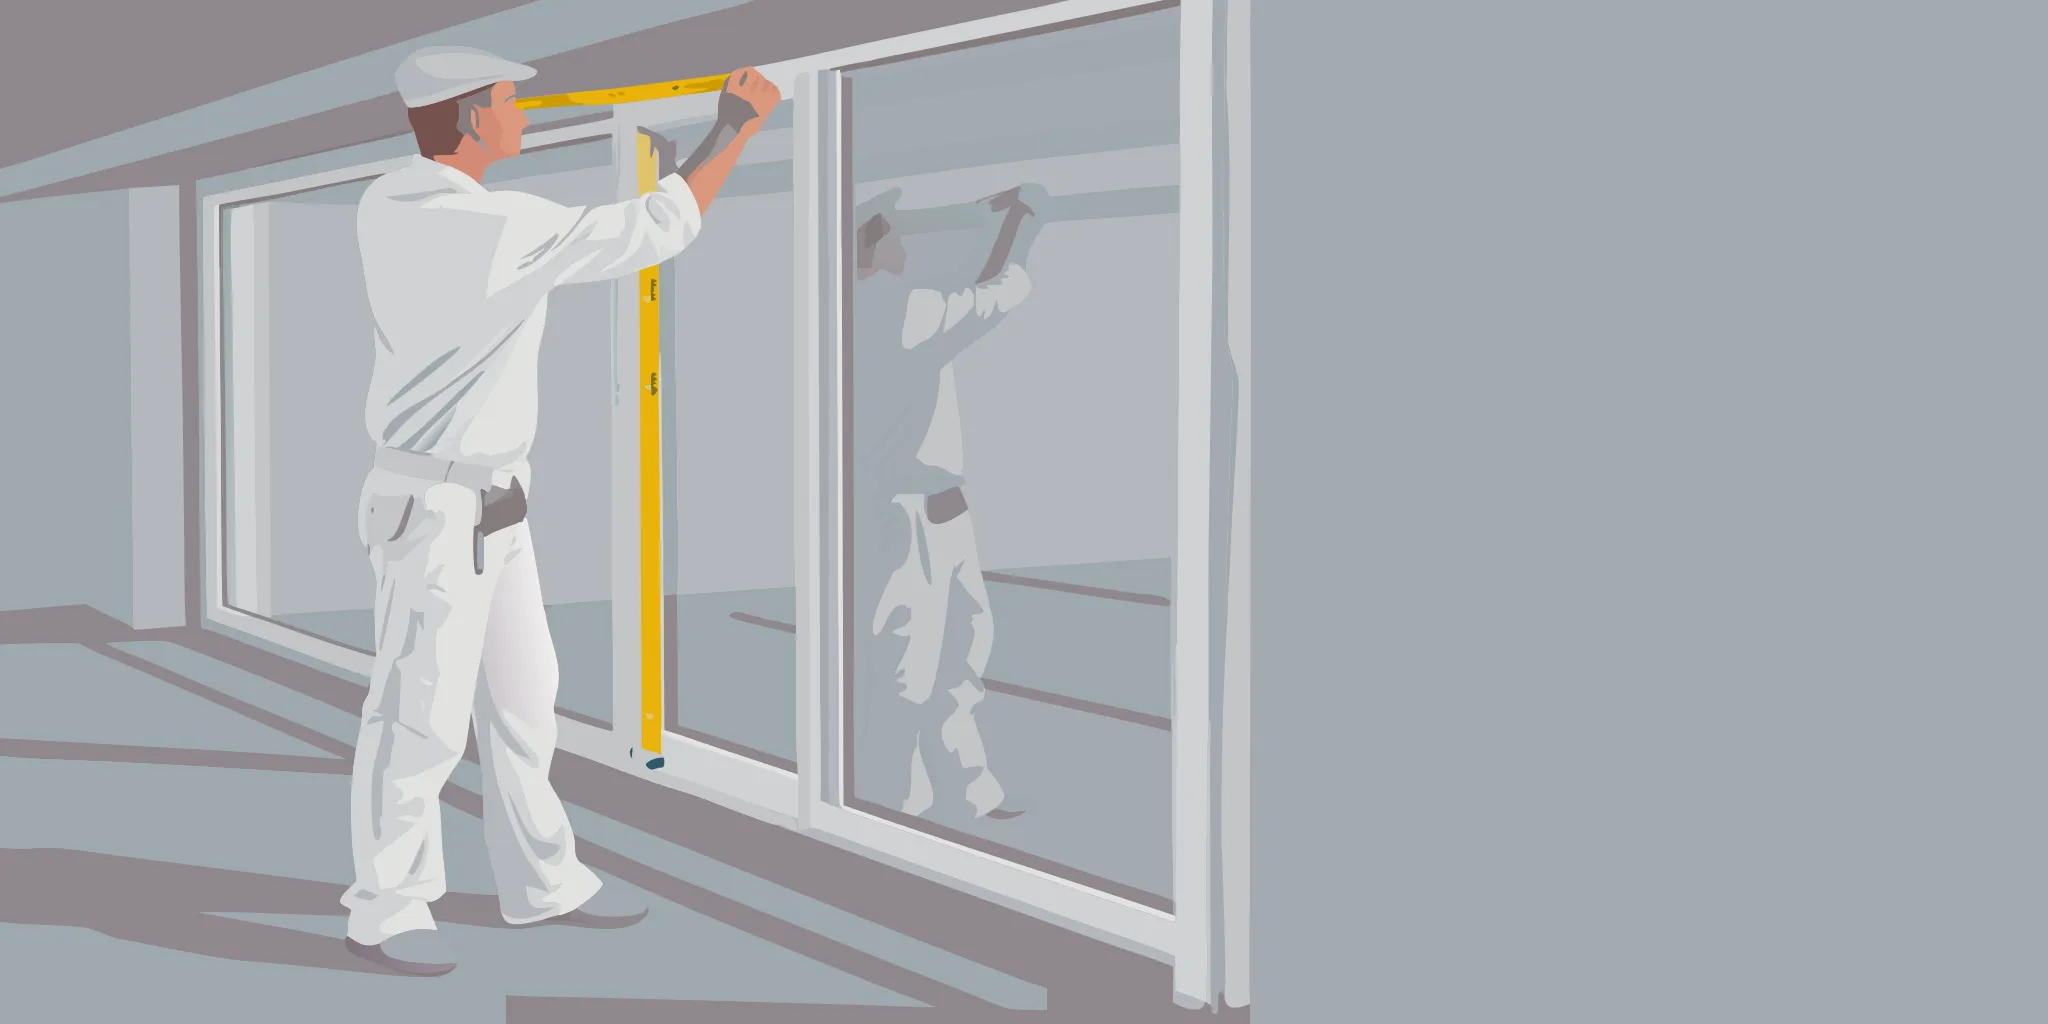
Before you start, grab the right gear for the task. You need a steel tape measure for the best results. Fabric or soft tapes can stretch or sag, which gives you wrong data. A stiff tape stays straight over long spans. You also need a notepad, a pen, and a phone to take clear photos. A level can help you see if the window frame is square or tilted. Taking wide photos of the whole window area helps the design team see the full space. Use a ladder if the windows are tall so you can reach the top edge safely.
Measuring the glass area
Window frames are not always square, even in older buildings. This is why you must measure the window surface at three spots for each side. Metal and wood frames can shift as time passes. If you only measure one side, your new graphic might be too big for the other side of the same pane. Taking many numbers helps you find any odd gaps or leans in the frame. Record every number you find to the nearest millimeter for the best fit.
- Clear the area: Clear the path so you can reach each corner of the glass without a struggle.
- Measure the width: Measure the width of the pane at the top, the middle, and the bottom edges.
- Measure the height: Measure the height of the pane at the left side, the center, and the right side.
- Record the smallest dimensions: Note the smallest width and height you find so the graphic does not get stuck in the frame.
- Identify surface obstructions: Find and mark any spots with handles, locks, or bars that cross the glass.
- Incorporate installation bleed: Add a 20mm bleed to your final width and height to give the installer room for a clean trim.
- Create a sketch: Draw a quick sketch of the windows and write the numbers on the drawing for the design team.
Handling blocked spots and bleeds
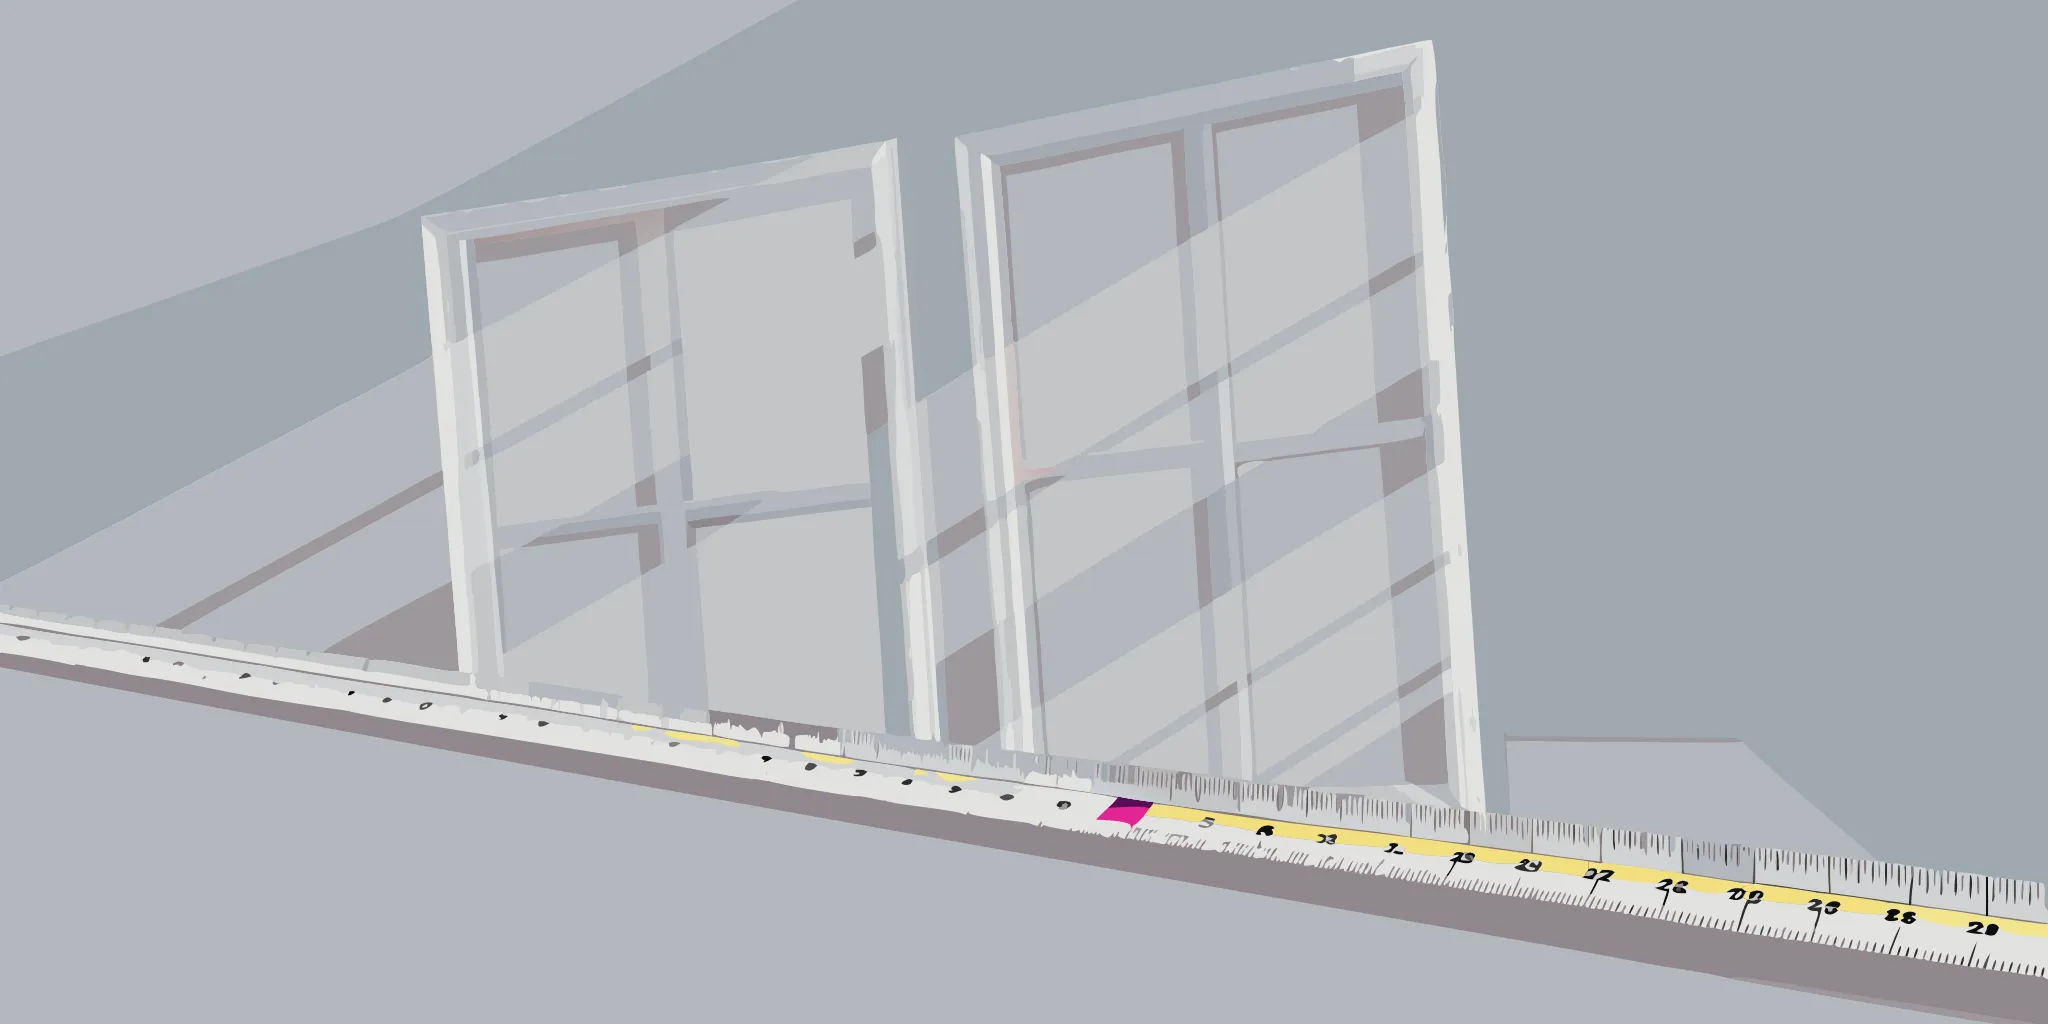
Blocked spots are any parts that stop a clear glass area. Door handles, locks, and metal bars are common in retail shops. You must note where these items sit so the design team does not place a logo or text over them. Also, learn how to measure windows for vinyl by adding a small bleed. This extra space lets the installer cut the film to the exact edge of the frame. Keep your main artwork at least 20mm away from the edge so no parts of your message get lost during the final trim. This safety zone keeps your brand looking its best.
Good data makes the planning phase simple. If you have many windows or a complex space, our team in Beaverton can help. We serve the full Portland area and work with you to ensure your project looks great. Feel free to contact us for a quote or to talk about your next sign project. Our staff can walk you through the process to ensure every detail is right.
Understanding Window Frame Types and Glass Surface Areas
Window graphics need a perfect fit to look good. Before you start, you must know what kind of frame you have. Many stores use large storefront glass held by metal bars called mullions. Sometimes these bars have caps that stick out. You need to know if your graphic will stop at the frame or go over the caps. Other windows use a pane-by-pane style where each piece of glass has its own frame.
Finding Storefront Frames and Mullions
Storefront glass is common for shops in the Portland area. These systems use mullions to hold the glass in place. A mullion is the bar between the panes. If you plan to cover the front of your store, you must decide if you will wrap the art around the metal caps. Wrapping the caps can create a smooth look, but it takes more vinyl. Our guide on storefront planning explains this in full.
Some older buildings use pane-by-pane windows. In this style, each glass section is on its own. You must measure every pane one by one to make sure they fit. Even if they look the same size, small frame shifts can cause big problems during the work.
Measuring Gaskets and Clear Glass
To find the right size and learn how to measure windows for graphics, you must look at the rubber gasket. This is the black seal between the glass and the frame. Usually, you should measure only the clear glass. This is the area inside the rubber seal. If your art is too large, it will hit the frame and peel off. If it is too small, you will see a gap.
Being exact is the most vital part of the job. You should measure your windows before you plan art at three spots for the height and width. This helps you find any small changes in the frame. As stated in US design rules, measuring the surface area with care makes sure the graphic size is right. When you change the size of an image, you must grow both the width and height at the same rate. This keeps your logos from looking wrong.
Car and Van Glass Surfaces
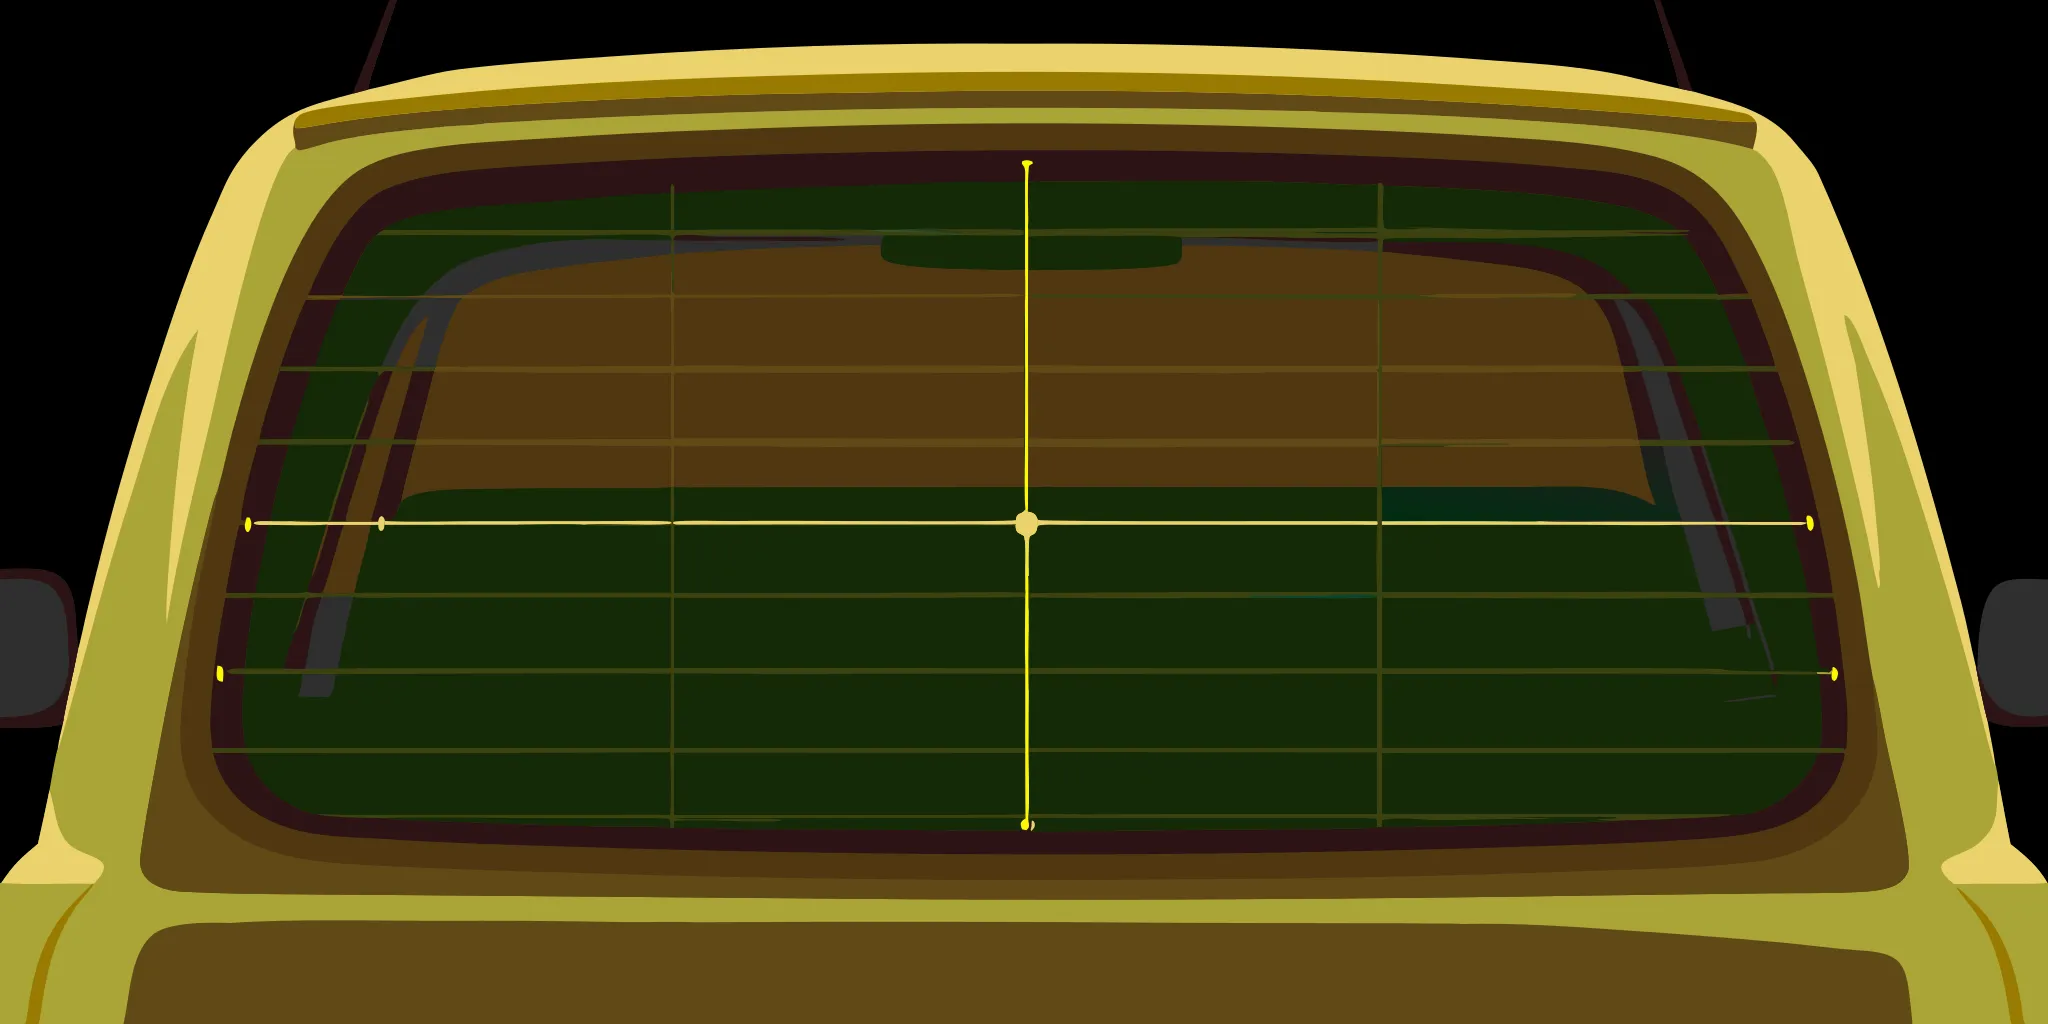
Car graphics have different rules than flat shop windows. Car windows are often curved and have thick black edges. These edges are part of the glass but are not clear. When you measure car window surfaces for graphics, you must find the flat part of the glass. Vinyl does not stick well to sharp curves or rough trim.
Most car windows also have a row of small dots near the edge. Avoid placing small text over these dots. The vinyl may not stay flat on them. Always measure from the widest and tallest points of the window to get a base size. Then, look for things in the way like wipers or handles that might block your art.
Planning vehicle wraps or custom glass graphics for your fleet? Get a free quote for custom car window decals and wraps from APM PrintWorks. Call us at (503) 270-5524 to speak with our design team.
Why You Need Multiple Measurements for Accurate Scaling
When you learn how to measure windows for graphics, you might think one height and one width is enough. But buildings change over time. Walls settle and window frames shift. Most frames are not perfectly square even if they look like they are. If you only take one measurement, your graphic may not fit when it arrives. Getting the exact size is key to a clean look.
The Problem with Imperfect Frames
A window that looks square often has small curves or slants. One side might be a few millimeters taller than the other. Or the middle of the frame might bow in slightly. These small gaps can cause big problems during a large format graphics setup. If the print is too big, it will bunch up or need tricky trimming. If it is too small, you will see gaps at the edges that look messy. This is why we check every corner of the space before we start the print.
Old buildings in the Portland area often have frames that have shifted due to age. Even new builds can have frames that are not perfectly level. A gap of just one-eighth of an inch can ruin the clean lines of a brand logo. We treat every window like it is a unique shape. This helps us avoid costly mistakes and ensures your vision comes to life exactly as planned.
The Three-Point Measurement Rule
To get a full view of the space, you must measure at three points for both the height and the width. This ensures you find the tightest spot in the frame. This step is a key part of the planning phase. It gives our team the data we need to make a top product that fits just right on your glass.
Follow this simple rule to get the best results:
- For height: Measure at the far left, the center, and the far right.
- For width: Measure at the top, the middle, and the bottom.
- Note any obstructions: Look for handles, locks, or mullions that might get in the way.
Write down all six numbers clearly. Even a tiny change of two or three millimeters matters for a clean finish. Use a good steel tape measure. Soft tapes can stretch and lead to wrong numbers. If you find a large gap between points, you may need a pro to help you map the space.
Scaling for a Perfect Fit
Once you have your numbers, find the smallest height and the smallest width. You must use these smallest values to scale your artwork. This ensures the graphic fits inside the frame without getting stuck. Using the largest number would result in a print that is too big for the narrow parts of the window.
When you scale the image, keep the same shape. This means you must increase both width and height by the same factor. If you only change one side, the image will look stretched or squashed. Using the smallest measurement keeps the look clean and sharp. You can also add a small bleed to the edges to allow for a clean trim during the final fit. If you need help with a complex project, contact our team for expert help in the Portland area.
What is Installation Bleed and Why Does It Matter?
Why you need extra space
Bleed is the extra print space that goes past the edge of your window decal. When you measure your storefront windows for graphics, you might think the glass size is all you need. But most pros want more. We add about 20mm, or 0.75 inches, of extra image to the right and bottom edges. This extra space helps us during the install.
The main goal of bleed is to avoid gaps. Most windows are not truly square. Even a good check can be off by a tiny bit. If you print the exact size, a small shift during the work could leave a sliver of glass showing. This looks messy and poor. The official graphics guides for public buildings also suggest these buffers. They ensure the vinyl covers the glass from edge to edge for a clean look.
How to check your windows
To get the right size, you must start with a deep check of the window. We suggest you take sizes at three points for both height and width. Use a metal tape to check the top, middle, and bottom of the glass. Use the largest number as your base size. This accounts for any frame issues or odd shapes in the wall.
Once you have your base numbers, add the 20mm bleed to the width and height. This new total is what we print. It gives the shop team enough room to shift the vinyl and trim it for a tight fit. For large Portland shops, this step is the key change between a poor look and a pro finish. If you need help, our team can show you how to measure windows well for vinyl to avoid errors.
Use a safe zone for your art
While you print more than you need, do not put your main message in that extra space. The safe zone is the space where all your text and logos live. You should keep these items away from the edges. If a logo sits in the bleed space, it will be cut off during the install.
A good rule is to keep all key items at least one inch away from the glass edge. This protects your brand if the window frame is not straight. Using a safe zone makes sure your phone number and sales pitch stay fully seen. It keeps your message clear and centered for all who walk by your store.
Size comparison
The table below shows how window sizes compare to the total print size with bleed. Notice how the printed graphic must be larger to start, but the final trimmed size matches the glass.
| Window Type | Glass Size | Graphic with Bleed | Trimmed Final Size |
|---|---|---|---|
| Office Door | 30″ x 80″ | 30.75″ x 80.75″ | 30″ x 80″ |
| Small Shop Window | 24″ x 36″ | 24.75″ x 36.75″ | 24″ x 36″ |
| Large Display Pane | 48″ x 96″ | 48.75″ x 96.75″ | 48″ x 96″ |
| Wide Storefront | 72″ x 48″ | 72.75″ x 48.75″ | 72″ x 48″ |
What Are the Common Mistakes When Measuring for Custom Window Decals?
Getting the right size for your window signs is key to a good look. Even small errors can lead to big gaps or a poor fit. Many people make the same few slips when they try to find the size of their glass. If you know how to measure your storefront windows for graphics, you can save time and money. Proper care from the start keeps your project on track.
Missing Fixed Blocks
One big mistake is not looking for things that block the glass. Items like handles, locks, and frames can get in the way of your sign. If you do not record these, your decal may not sit flat. It might also cover a latch you need to reach. This can make it hard to use the window or door.
Check the spot for air vents or light switches too. These small parts can ruin a large image if they fall in the center of a face or logo. As noted in the U.S. State Department Graphics Guide, you must check for outlets and switches. This makes sure your graphic fits the space. Always mark these spots on your sketch before you send the file to your print shop.
Mixing Up Width and Height
It sounds simple, but many people swap the width and the height. This error can lead to a print that is the wrong shape for your window. To avoid this, always list the width first and the height second. Label them clearly so there are no mix ups. Clear labels help the print team get your order right.
You should also check for frame issues. Some windows are not a perfect square. To be safe, take three width counts: top, middle, and bottom. Then, take three height counts: left, center, and right. Use the smallest numbers to make sure the film fits. If the frame is not straight, a large decal might hit the edge. This can cause the vinyl to peel off over time.
Ignoring Gasket and Bleed Needs
The rubber seals around the edge of the glass can also cause trouble. If you measure only the glass you see, the decal might be too small. It is a good idea to add a bit of extra room for the trim. This extra space is a bleed. It gives the shop more room to work with.
Most shops suggest adding 20mm of bleed to the bottom and the right side of your sign. This allows the person who sets it up to trim the edges for a clean look. But be careful not to put vital text in this zone. Parts in the 20mm bleed area may be cut off during the last step. Keep your logo and words away from the very edge.
Planning with a Partner
Getting the size right can feel hard for large jobs. That is why working with a local partner helps. We can guide you through the plan phase to make sure every detail is correct. We check your goals and the spot where the sign will go. This way, you get a perfect fit every time. Our team in Beaverton knows the best ways to handle these tasks for Portland shops.
Don’t risk a measuring mistake that ruins your storefront branding. Let the experts at APM PrintWorks handle your storefront window graphics planning. Schedule your professional site survey today, or call us at (503) 270-5524 for an instant estimate.
Frequently Asked Questions
How do I accurately measure a window for graphic installation?
To get an accurate size, you must find the height and width at three separate spots. Measure the height on the left side, the center, and the right side. Then measure the width at the top, middle, and bottom. As stated by APM PrintWorks, this method handles frame shifts. Using the smallest set of numbers ensures your graphic fits the space without any odd gaps or tight spots.
Should I add extra space to my window measurements?
Yes, it is best to include an extra area called a bleed. You should add about 20mm to the right side and bottom of your final size. This extra part allows for trimming during the work to ensure a clean edge. Experts suggest that adding this bleed helps the installer handle small shifts. Always tell your print shop if the sizes you give already include this extra space.
Where should I avoid placing important text on window graphics?
You should keep all vital text and logos away from the edges of your design. Do not place key parts within the 20mm bleed area on the right and bottom sides. This part is often cut off during setup to match the window frame. As noted by MJCP, keeping a safety zone ensures your brand message stays clear and is not lost during the final fit.
What should I look for besides size when measuring?
Beyond width and height, you must check for objects that might block the graphic. Look for handles, locks, or air units on the glass. Proper notes on these items are the first step in the planning phase for any new project. Finding these details early helps the designer fix the layout. This ensures that key parts of the image are not cut by hardware like door handles or window locks.
Ready to schedule your window graphic site survey?
Small errors in your window measurements lead to graphics that do not fit, which wastes your budget and causes major delays for your store. If you wait to start the process now, you risk missing the chance to capture new customers during your busiest sales season with bold signage. We help you avoid the stress of last-minute changes by checking every handle and lock to make sure your art looks perfect on glass. Booking your survey today ensures our team can review your site and set a firm date to install your new graphics in Portland. For events spanning multiple locations, read our guide on maintaining consistent event graphics across venues.
Ready to schedule a professional window graphic consultation and site survey? Call (503) 270-5524 to talk to a signage expert about your project.
Looking for professional window graphics for your Portland storefront or office? Browse our window graphics services and get a custom quote today.