
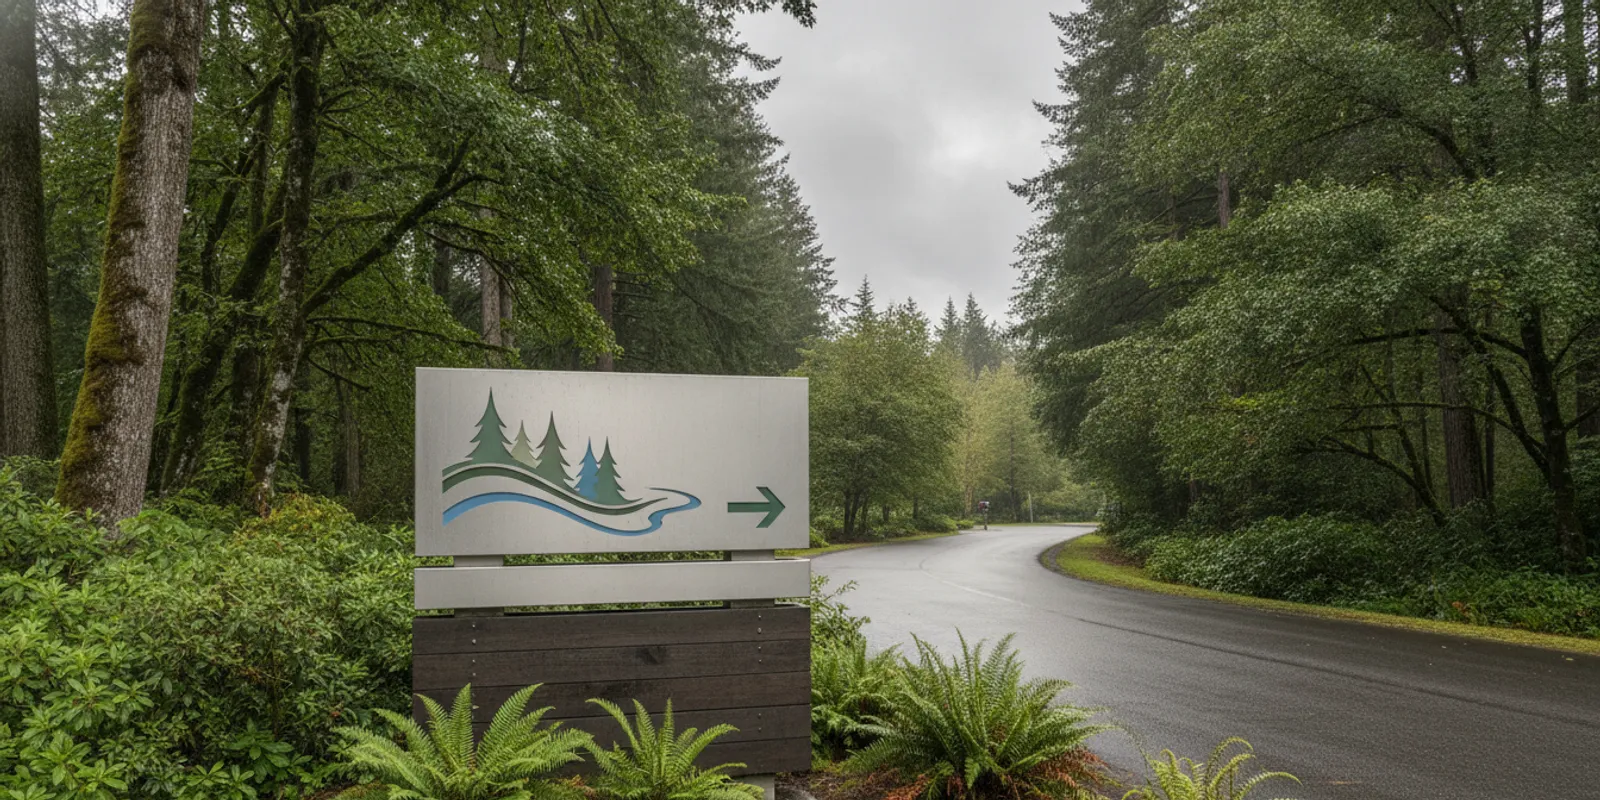
Custom street signs help visitors, drivers, and service teams find the right entrance, building, or route on a business site. A useful plan accounts for the reader, the decision point, exposure, mounting, and any approval requirements before production begins. For Portland-area businesses, mapping the route and confirming the sign scope early can reduce confusion and avoid rework.
Discuss your custom street sign project
What job should custom street signs do?
Start with the task, not the shape or color. A sign on private property might identify a road, guide a visitor to reception, mark a loading entrance, or keep vehicles away from a pedestrian route. Each purpose calls for a distinct message and placement. A sign that tries to identify, warn, and give several directions at once can be difficult to scan.
List the decisions a visitor must make from the property entrance to the destination. A multi-building office site, for example, may need one sign at the driveway, another at a fork, and a final identifier near the correct building. Each sign should answer one question at the moment it arises.
- Identify: Name the private road, building, parking area, or entrance.
- Direct: Show the next turn or destination without making drivers stop in an unsafe location.
- Warn: Communicate a site condition or restriction using language and symbols approved for the setting.
- Separate: Distinguish vehicle, pedestrian, delivery, and emergency access routes.
Record the audience and decision point for every proposed sign. Keep each message short, use familiar destination names, and avoid asking a driver to process unrelated instructions at once. If the property needs a broader visual system, compare street signs with other custom sign options so visitors recognize a consistent approach.
Which rules apply to a sign on your property?
The phrase “street sign” can describe very different installations. A sign on a private campus is not automatically the same as a sign installed in a public right-of-way. Before designing, determine who controls the land, road, or pole and who has authority to approve the sign.
For signs in or near a public street, contact the relevant city, county, or state transportation authority before ordering. Ask about permits, approved locations, dimensions, materials, colors, reflectivity, mounting height, and installation responsibility. Do not assume that a familiar road-sign appearance is approved for a private business sign.
The Federal Highway Administration’s discussion of traffic sign materials includes sign sheeting and reflectivity considerations. It is useful background, but it does not replace local approval or establish which requirements apply to a specific private property. The authority responsible for the location can identify the standards that govern your project.
For a private site, check property-owner requirements, lease conditions, campus design rules, and applicable local sign code. If the sign conveys a safety instruction or regulated traffic control, involve the responsible safety or facilities team. Have the approving authority review the proposed message and location before production.
How do you choose a material and finish?
Material selection should reflect exposure, expected service life, viewing distance, and maintenance. A temporary direction at a short event has different demands from an identification sign that remains outdoors through rain, sun, and seasonal cleaning. Define those conditions first, then ask the print partner to discuss suitable constructions.
| Planning factor | What to decide | Why it matters |
|---|---|---|
| Exposure | Indoor, sheltered, or fully outdoors | Weather and sunlight shape the material and finish conversation. |
| Duration | Temporary, seasonal, or ongoing use | Expected use affects suitable construction and budget. |
| Viewing distance | Close pedestrian reading or driver approach | Distance affects letter size, contrast, and message length. |
| Mounting surface | Post, wall, fence, or another approved support | The support and attachment method must suit the location and conditions. |
| Maintenance | How the sign will be cleaned and inspected | A plan helps preserve legibility and identify damage. |
For a sign that drivers must read while moving, prioritize legibility over decorative detail. Use strong contrast, a simple type treatment, and only the words needed to make the next decision. Avoid putting critical information close to the edge or using a busy background behind the message. A sign for pedestrians who can stop and read may support a little more detail, but the hierarchy should still make the primary instruction obvious.
Ask for recommendations based on the actual site. A photo, approximate dimensions, exposure, and intended duration give a production partner a better starting point than a request for a material by name. APM PrintWorks provides large-format site sign solutions; confirm the appropriate construction against your conditions and any governing requirements.
Where should signs go for clear wayfinding?
Walk or drive the route as a first-time visitor would. Begin where people enter the property and note every fork, blind turn, parking choice, and building entrance. Place a sign before the decision point when possible, rather than after a driver has passed the turn.
- Mark the arrival point. Identify where a visitor first needs confirmation that they reached the right property.
- Trace the route. Record each turn and destination choice on a simple site plan.
- Find decision points. Consider intersections, gates, parking areas, and entrances where the next action is unclear.
- Check sightlines. Look for parked vehicles, landscaping, walls, and other signs that could block the view.
- Review from the user’s position. Check whether a driver can read the sign in time and whether pedestrians can find their route safely.
- Remove unnecessary repetition. Keep confirmation signs where they reassure visitors, but avoid clutter competing with essential instructions.
Readability depends on more than font size. Contrast, letter shape, message length, viewing angle, lighting, and approach speed all matter. A vehicle-approach sign should not rely on small secondary text or a long list of destinations. If there are several destinations, a sequence of concise signs may work better than one crowded panel.
Consider a worked route for a clinic or office campus: a visitor enters from the main road, sees a property identifier, follows a directional sign at the first fork, then uses a building label to confirm arrival. Delivery drivers may need a separate route marker before the loading turn. Mapping those audiences separately reveals whether one sign can serve both or whether distinct messages are safer and clearer.
For temporary indoor routes, other graphics can support street-level directions. APM’s floor graphics page describes another format that may help with visitor guidance, depending on surface and use.
What mounting details should you plan?
Mounting is a design and site-planning issue, not a last-minute production decision. Identify the support surface, available footprint, expected viewing direction, and restrictions on digging, drilling, or attaching hardware. Confirm who owns the support and who is responsible for installation.
For a post-mounted sign, note the desired face direction and approximate height, then ask the responsible site or permitting authority to confirm acceptable placement. For a wall-mounted sign, record the surface type and check whether the building owner permits attachments. For a fence-mounted sign, consider visibility from both sides and whether the fence is intended to carry the sign load.
Do not select a mounting method solely from a photograph. Wind exposure, sign size, surface condition, and local requirements can change what is appropriate. The printer can discuss the sign itself, while a qualified installer or site authority should address structural suitability and installation approval where needed.
Before finalizing the location, check that the proposed sign will not obstruct a doorway, accessible route, driveway sightline, or other essential path. Confirm clearances and placement with the property manager or appropriate authority rather than relying on a general rule of thumb. Add the confirmed location and mounting notes to the site plan so production, approval, and installation teams are working from the same information.
How can you plan cost and timing?
Custom sign pricing depends on size, quantity, material, finish, artwork, hardware, and whether installation is part of the scope. There is no single reliable price for every street sign. Request a project-specific quote rather than relying on a price for a sign with different specifications.
To make quotes easier to compare, send each provider the same information:
- Quantity and finished dimensions for each sign.
- Exact wording, destination names, arrows, and supplied artwork.
- Photos or a site plan showing each proposed location.
- Outdoor exposure and expected use period.
- Preferred material or a request for options suited to the conditions.
- Mounting surface, hardware needs, and whether installation is requested.
- Required in-hand date and any approval steps still outstanding.
Then compare proposals by matching scope line by line. One estimate may include artwork preparation or hardware while another prices only the printed panel. Ask what is included, which assumptions affect the price, whether revisions are included, and what would trigger a change order. A lower total is not directly comparable if it leaves out mounting components or an approval-stage proof.
Turnaround varies with artwork readiness, material availability, quantity, approval cycles, and installation coordination. Ask for an estimated schedule after the scope is clear, and include time for reviewing a proof and securing permissions. If the project is part of a larger campaign, related custom banners can be discussed in the same planning conversation, although their production requirements may differ.
APM PrintWorks serves the Greater Portland area from Beaverton. As a local Portland-area printer, APM can discuss large-format sign requirements with nearby businesses and organizations. Pricing and turnaround depend on the specific dimensions, construction, quantity, artwork, approvals, and installation scope; request a current estimate for your project through the contact page.
What should you prepare before approving the proof?
A proof is a chance to catch wording, direction, and layout issues before production. Review the sign in context, not only as a flat image on a screen. Confirm names, spelling, arrows, contrast, dimensions, and the destination shown at each point along the route.
- Check every destination name against the language visitors already use.
- Confirm each arrow points toward the correct route from the intended approach.
- Verify the order of signs matches the actual sequence of turns.
- Review finished dimensions and required clear space or placement constraints.
- Ask the property owner or authority to approve content and location where required.
It can help to review the proof with more than one person. Ask a colleague unfamiliar with the route to read the message and explain what they would do next. If they interpret an arrow differently or cannot identify the intended destination, revise the message or layout before approval. Check the proof against the same site plan used for quoting, and make sure the version being approved is the final one.
Keep a final list of sign locations and approved messages. That record helps installers place each sign correctly and gives facilities staff a reference for future maintenance or replacement. If the property changes, review the route and update signs that no longer match how people move through the site.
Request a custom sign project estimate
How do you build a practical sign schedule?
A sign schedule turns a route plan into a production-ready set of instructions. It prevents a common problem: a clear individual sign that does not fit the sequence around it. Give each sign an identifier, record its location, and connect it to the specific audience and decision it serves. For example, “D-01” might refer to the driveway entrance, while “D-02” marks the first internal fork. Use the identifiers consistently on the site map, proof comments, quote request, and installation notes.
For each scheduled sign, capture its location, audience, exact message, viewing conditions, production details, and approval status. Describe the approach and nearby landmark rather than writing only “north side.” Note whether the sign serves visitors, deliveries, employees, or pedestrians. Record the exact wording, destination name, and arrow direction, and flag any text that requires review. Add approximate dimensions, exposure, mounting surface, and any open hardware questions.
Suppose a property has a visitor entrance, a receiving bay, and two buildings. The visitor path may need an entrance identifier, one directional sign at a fork, and a building confirmation sign. The receiving route may branch before the visitor entrance, so a separate delivery direction should appear early enough to prevent trucks from entering a passenger drop-off area. The schedule makes that distinction visible before artwork is laid out.
Use a simple map with numbered markers and a legend. A photo from the intended approach can supplement it, especially when there are multiple gates or similar-looking buildings. Avoid relying on color alone to distinguish sign types; include a written label such as “visitor route” or “loading access.” If a route changes during review, update both the map and schedule rather than sending isolated corrections that can be misunderstood.
Finally, assign one person to consolidate comments. Separate factual corrections, such as a misspelled building name, from design preferences, such as a different color treatment. Confirm that the approved proof, schedule, and map show the same version. This coordination step reduces ambiguity for everyone preparing, reviewing, and installing the signs.
Request a custom sign project estimate
Frequently Asked Questions
Are custom street signs only for public roads?
No. Businesses and organizations may use signs on private roads, campuses, parking areas, and internal routes. Public right-of-way signs are subject to the responsible authority’s requirements, so confirm jurisdiction before planning production.
What information should a street sign include?
Include the destination or instruction needed at that specific decision point. Keep the wording concise, use consistent names throughout the site, and avoid secondary details that a driver cannot comfortably read while moving.
How much do custom street signs cost?
Cost varies with dimensions, quantity, construction, finish, artwork, mounting hardware, and installation scope. Provide those details and your required date to request a project-specific quote.
How long does production take?
Timing depends on approved scope, material availability, artwork and proof approvals, quantity, and installation needs. Ask for a current estimate once those details are known, and include time for permits or site approvals.
Can a printer decide whether a sign meets local requirements?
A printer can prepare a sign to the specifications you provide, but the responsible property owner or public authority should confirm applicable rules and approve placement. Seek that approval before production when required.
Plan your next step
Clear custom street signs begin with a defined route, concise messages, suitable materials, and an approved mounting plan. Gather your site information and timing needs, then work through the details with a local print partner before committing to production.