Portland wind and rain can tear a poorly finished vinyl banner within weeks. High winds in the Willamette Valley can turn an unsecured sign into a damaged display. Choosing the right outdoor banner finishing options helps protect your message and makes installation easier.
Request a custom outdoor banner quote from APM PrintWorks.
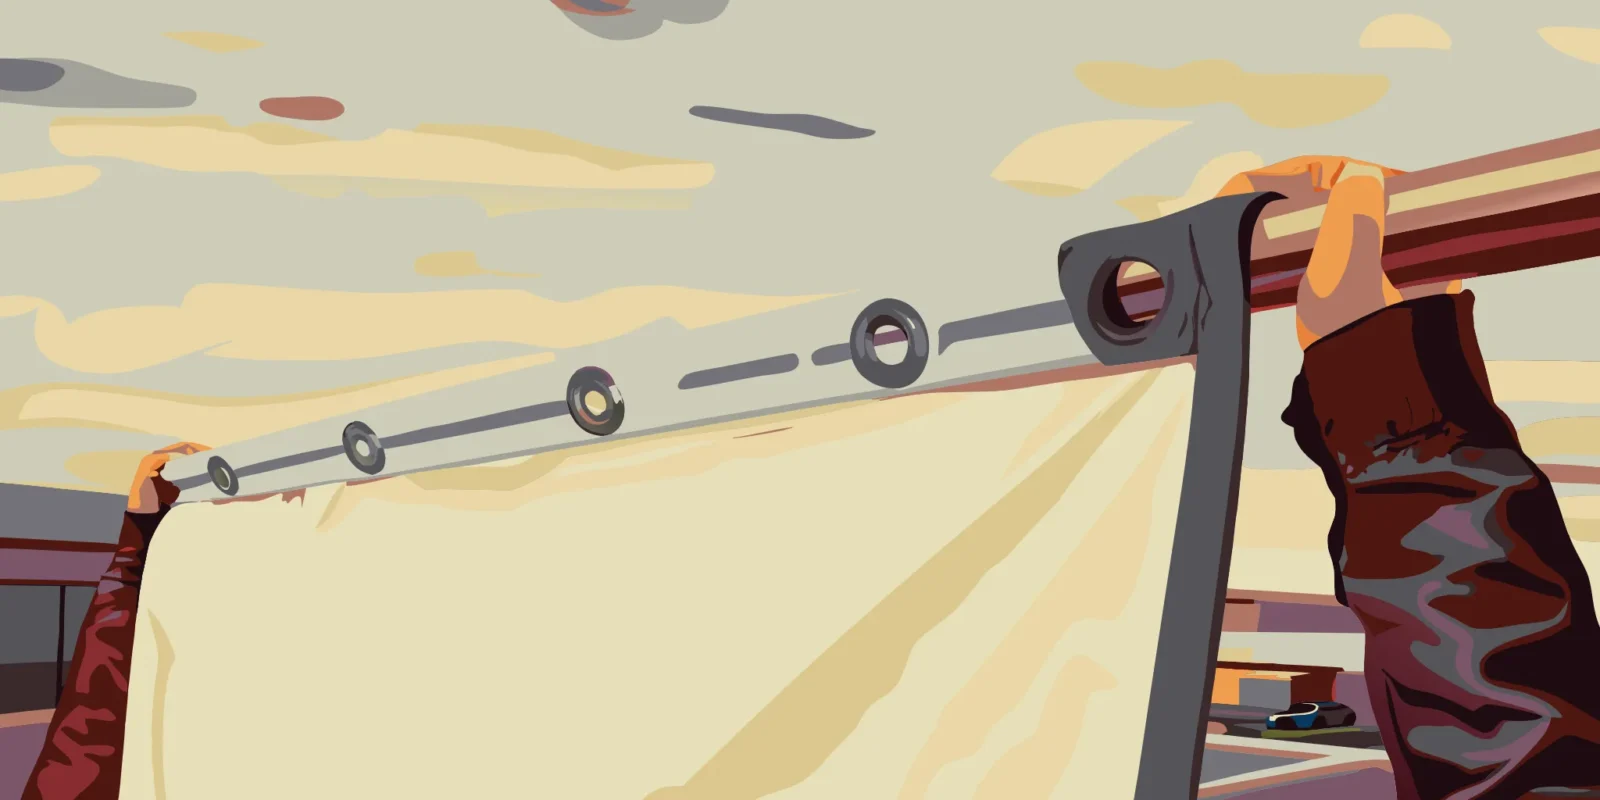
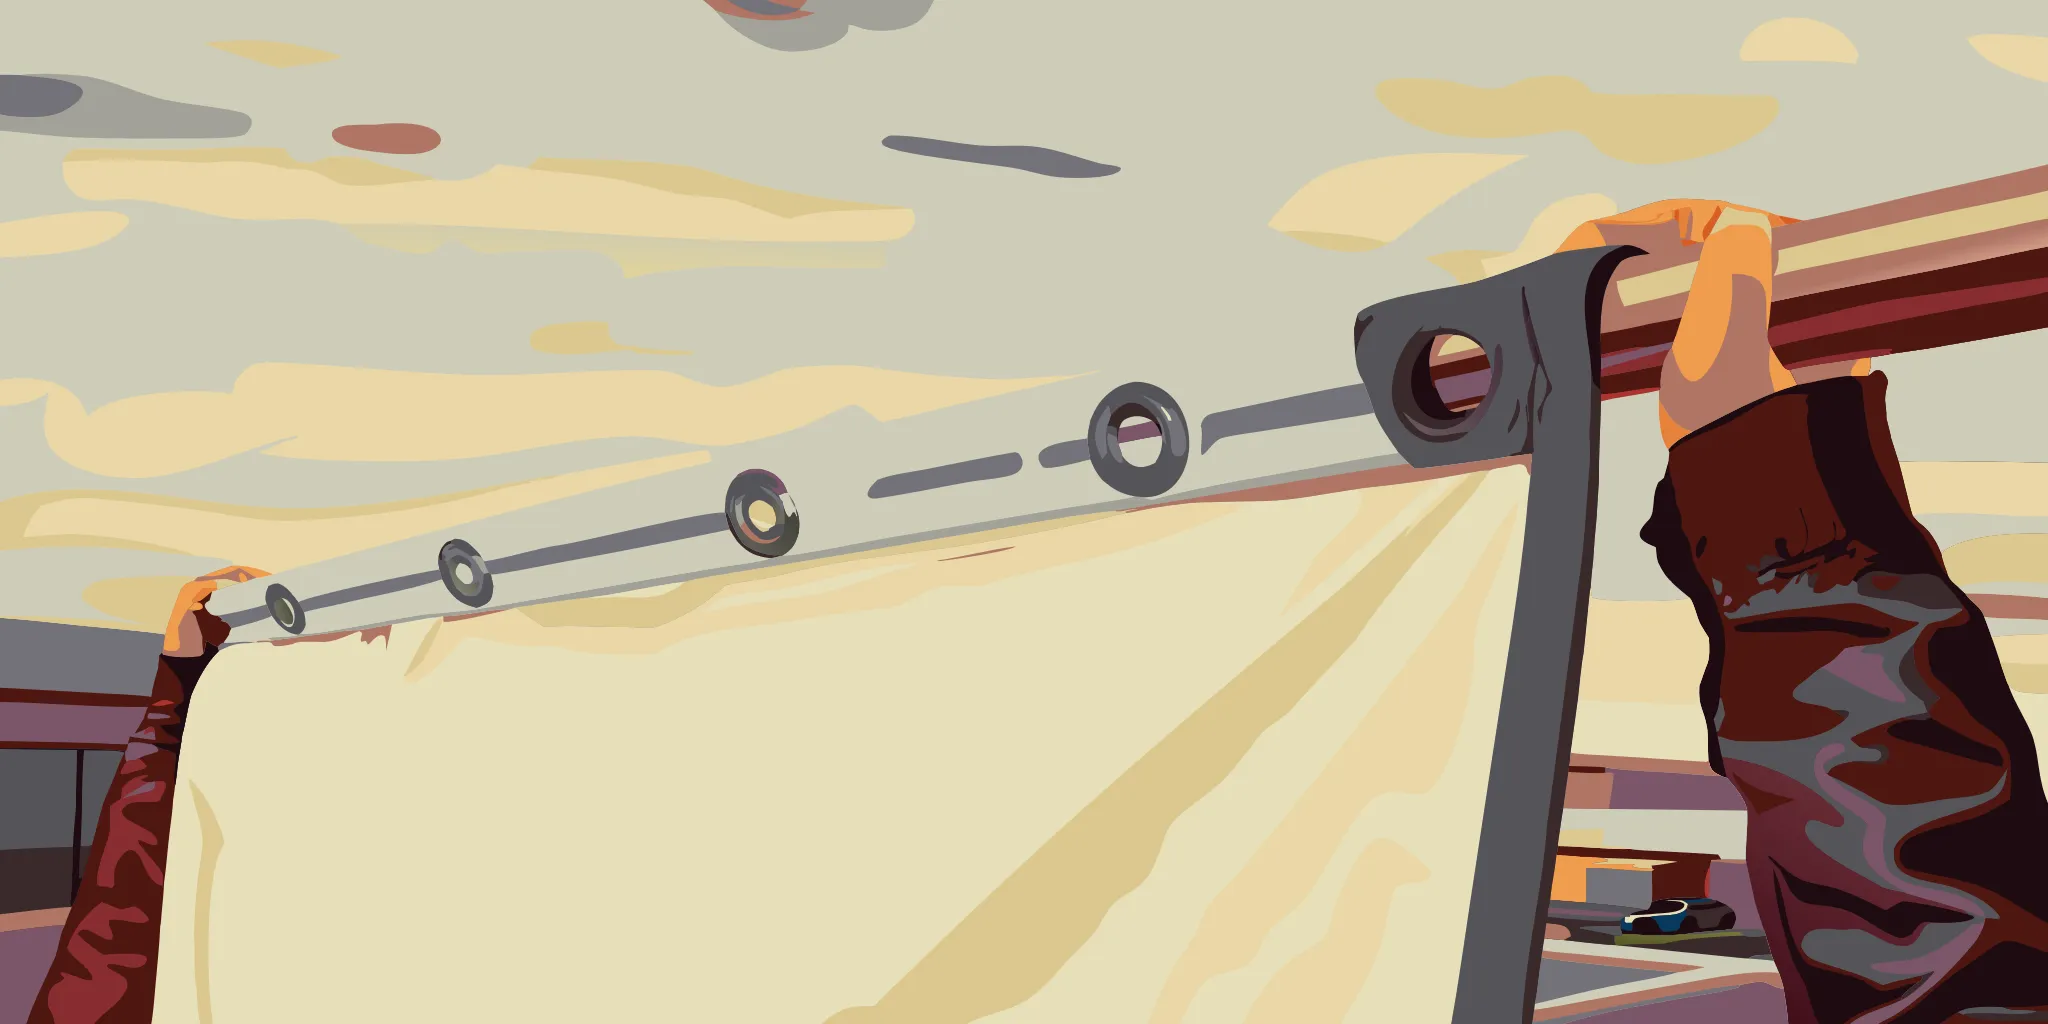
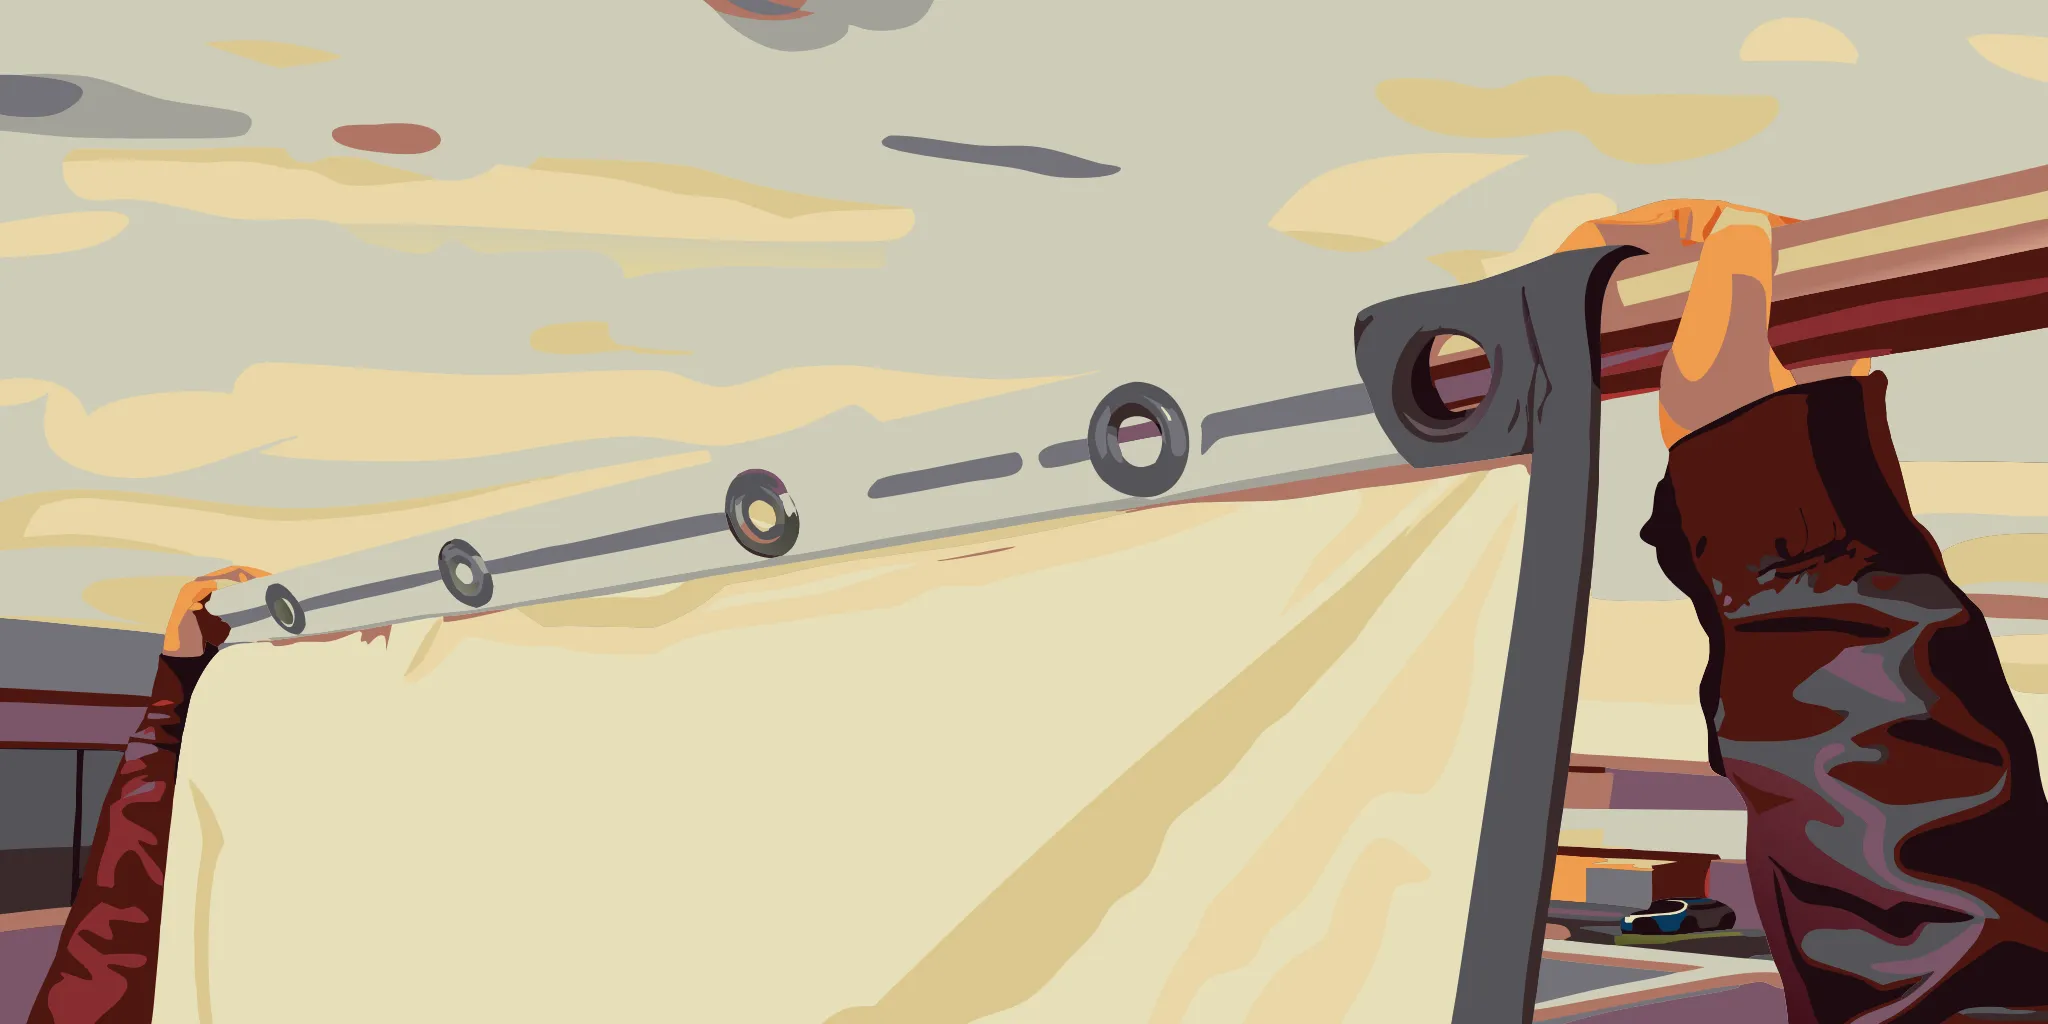
Outdoor banner finishing options like machine-welded hems and metal grommets are needed for signs exposed to Pacific Northwest weather to stop them from tearing apart. Most standard banners use one-inch welded hems to provide the strength needed to stop fraying at the edges or ripping in the wind. For larger signs over thirty-two square feet, reinforced corners and webbing add the life needed for outdoor use when the weather gets very rough. Metal grommets are usually placed every two to three feet along the edges to allow for secure hanging with zip ties or strong bungee cords. These finishing choices make sure that your business signs stay professional and easy to read through every storm while keeping your marketing message very safe.
Outdoor banner finishing options at a glance
Choosing the right finish keeps your sign safe from the wind and sun. The best pick depends on how you hang the banner and how large it is. You must also think about the weather in your space. Proper edges and holes can help your sign last for a long time.
Edge support and strength
Strong edges keep the vinyl from fraying or tearing. Most banners use one inch welded hems to add strength to the vinyl. These hems fold the vinyl back to create a double layer of support. This process makes the banner much harder to rip when the wind blows hard.
You may need even more strength for very large signs. Some shops use a special heat weld to bond the vinyl layers together. This creates a smooth seam that is very tough. If you skip this step, the edge of the banner may start to peel or crack in the heat.
Common finish types
The table below shows the top ways to finish your sign. Each choice solves a distinct need based on your space and goals. Use this guide to find the best match for your project.
| Option | Best Use | Key Benefit |
|---|---|---|
| Hems | Standard banners | Stops edges from tearing |
| Grommets | Fences and walls | Easy to hang with zip ties |
| Pole Pockets | Street poles | Slides onto a rigid bar |
| Sewn Loops | Large mesh signs | Holds up under high tension |
| Wind Slits | High wind areas | Lets air pass through the sign |
Many people use a mix of these choices. For example, you might want both hems and grommets. The hems provide the strength, while the grommets give you a place to tie the sign down.
Planning for high wind
Wind is the main cause of banner damage in the Northwest. For signs over 32 square feet, you should use reinforced hems and corners. This extra layer of PVC webbing helps the banner stay in place during a storm. Picking the right outdoor banner finishing options makes sure your sign lasts for months without failing.
Wind slits are one more choice for open areas. These small cuts allow some air to pass through the banner. This cuts the drag on the vinyl. While slits do not stop all wind force, they can help in spots where a solid sign would act like a sail.
Mounting choices for banners
Grommets are the most common choice for outdoor signs. These brass rings sit in the corners and every few feet along the edge. They allow you to pull the banner tight against a flat wall. You can use ropes or bungee cords to secure the grommets to a fence or wall.
If you need to hang a sign over a road, you may need pole pockets also. These are sleeves of vinyl where a metal pipe can slide through. This keeps the sign very stable in the air.
Why reinforced hems matter outdoors
When you hang a banner outside, the wind is your main enemy. A simple sheet of vinyl can act like a sail, catching every breeze and gust. Without the right outdoor banner finishing options, the edges can fray or tear fast. Reinforced hems give your sign the strength it needs to stay up in the rain and wind of the Portland area.
How reinforced hems spread out stress
A standard hem is made by folding the edge of the banner back and bonding it to the rear side. This creates a double layer of vinyl that is much stronger than a raw edge. Most shops use machine-welded hems that are about one inch wide. This method uses heat to fuse the layers, which creates a smooth and sturdy bond. If you need a tough sign, you can check our guide for building site signs to see how we build for hard spots.
The heat-welding step is key for a long-lasting seam. Sewing puts small holes in the vinyl, but welding keeps the sheet whole. This spread-out strength helps the banner hold its shape when it is pulled tight. It also gives a thick base for metal grommets, which are the brass rings used to hang the sign. Most grommets are about half an inch wide. They help you tie the banner to a fence or pole without the vinyl ripping.
Handling high wind and heavy loads
For big signs over 32 square feet, a standard fold may not be enough. This is where reinforced hems are needed. These hems use a special PVC-coated webbing that is sewn or welded into the edge. This webbing acts like a belt for your banner. It adds a layer of support that resists stretching. In high-wind areas, this extra grip is what keeps the grommets from pulling out of the vinyl. Research shows that properly spaced holes and edges can help signs stand up to wind loads better.
If you know your sign will face constant gusts, you should also think about mesh banners. These have small holes that let air pass through. This lowers the drag on the vinyl. When you use mesh with reinforced hems, these signs are a great choice for open areas like fences or scaffolding. This mix keeps the banner from flapping too much. Less flapping means less wear and tear over time.
Choosing the right edge finishing
When you order a banner, you should ask about the edge work. For most small or medium banners, a standard one-inch welded hem is fine. For anything larger or for long-term use, ask for reinforced edges and corner tabs. These tabs add extra layers of vinyl at the corners where the pull is highest. This small change can help your outdoor banners last much longer in the shifting weather.
Think about where the sign will hang. If it is going between two poles, reinforced hems are a must. They stop the top and bottom edges from sagging or bowing in. By picking the right finishing now, you make sure your message stays clear and expert until your event is over. Good finishing makes the difference between a sign that looks great and one that fails after the first big storm.
How should you specify grommets?
Grommets are small metal rings that give you a way to hang your signs safely. They work as strong anchor points. They keep the banner material from tearing when you use ropes or zip ties. Standard rings are often made of #2 brass and measure about half an inch wide. Choosing the right metal and size helps your banner last longer in the rain and wind of the Portland area.
Placement and spacing
Most banners have rings in all four corners. For larger signs, we also place them along the edges every two to three feet. This spread helps share the load. If you only use the corners on a long banner, the middle will sag. That sag puts too much stress on the material. Proper spacing is one of the key outdoor banner finishing options that keeps your display tight and readable.
The best spacing depends on the size of your project. Small signs may only need a few rings. Large-format prints for high-wind areas often need them closer together. When you pick your banner finishing, think about where the sign will go. Signs over 32 square feet should have reinforced corners to handle the extra weight and wind force.
Safe mounting tips
How you hang the banner is just as vital as the rings themselves. You should use bungees, zip ties, or ropes that fit through the holes. Be careful not to pull the sign too tight. Too much pull can cause the metal to rip out of the fabric. It can also warp the image on the front. A good fit has just enough tension to keep the face flat without stretching the hems.
Spreading tension is a big part of banner care. Use all the rings we provide. If you skip a few, the ones you do use have to work much harder. This leads to fast wear and tear. For permanent outdoor spots, consider using aircraft cable. This helps the banner stay in place during big storms. Following these simple steps will help you get the most value from your custom print projects.
Do outdoor banners need wind slits?
Many business owners in the Portland area ask if they should add wind slits to their large signs. Wind slits are small, half-moon cuts made in the vinyl. The idea is that these holes let air pass through the banner. This should lower the stress on the sign and the mount when the wind picks up. But wind slits are not always the best choice for every project. They come with downsides that can affect how your sign looks and how long it lasts.
How wind slits affect banner strength
While wind slits seem like a good fix, they do not always lower wind load as much as people think. Research shows that proper spacing and size of holes can help with wind load on some structures. But on a soft vinyl banner, these cuts can sometimes do more harm than good. Each slit creates a new place where the fabric can start to tear. In a heavy storm, a small cut can quickly turn into a large rip that ruins the whole sign. Choosing the right outdoor banner finishing options is often better than just cutting holes in the vinyl.
The impact on your sign’s design
Wind slits can also mess with your art. If a slit goes through a key part of your logo or a phone number, it makes the sign hard to read. From a distance, the flapping cuts can look messy and pull eyes away from your brand. Before you add slits, think about how they will change your design. At APM PrintWorks, we look at where the cuts will go to make sure they do not hide your most vital facts. We want to help you find a plan that keeps your sign strong without losing its look.
Better choices for high-wind areas
If you are putting a sign in a high-wind spot, there are other ways to keep it safe. A mesh banner is often a better tool for these sites. These signs have thousands of tiny holes woven into the fabric. This lets air pass through the whole surface without the need for large cuts. Mesh is strong and keeps your design clear. You should also think about how you mount the sign. Using strong bungees or steel cables can help the sign move with the wind. This lowers the risk of tearing and keeps your sign in place for a long time.
The need for a custom plan
Each outdoor space has its own tests. A sign on a wall in a quiet alley faces less wind than a sign on a fence in an open field. This is why you need a plan that fits your exact site. We look at local wind levels and how you plan to hang the banner. Sometimes, a thicker vinyl or strong hems do more to protect your sign than wind slits. Our team helps you pick the best banner for your area. We want your message to stay up and look great in all kinds of weather.
When are pole pockets the better choice?
A pole pocket is a simple way to hang your banner. To make one, the shop wraps the edge of the banner vinyl back onto itself. This creates a sleeve or a loop. You can then slide a metal pipe or a wooden pole through this space. While grommets are common, pole pockets offer a different look and feel for your outdoor banners.
Why choose a pole pocket?
Pole pockets are often the best pick when you want a clean, sleek look. Because the pole runs through the whole edge, the weight of the banner stays even. This stops the “pulling” look that grommets can cause at the corners. For many, this makes the display look more high-end and expert. You will see these on main streets or hung from the side of a building on a bracket.
This edge method also helps with tension. When you use a pole at both the top and the bottom, the banner stays flat. It does not sag or curl in the wind like a thin sign might. This is a top choice for outdoor banner finishing options on tall buildings. It keeps the image clear and easy to read from a far way off.
Strength is one more big plus. A sleeve uses the full width of the cloth to hold the weight. In high-wind spots, this can be safer than just a few metal rings. Some cities even have rules about how you must hang signs over a street to keep people safe. In fact, research shows that how you hang a sign can change how it handles wind load. Studies from PLOS ONE suggest that proper mounting is key to wind resistance in rigid and soft sign boards.
How to size a pole pocket
Getting the size right is the most vital part of this job. If the sleeve is too small, the pole will not fit. If it is too big, the banner might slide or look messy. Most shops offer standard sizes. A 2-inch or 3-inch pocket is common for many small banner poles. You should always measure the width of your pole before you order your print.
Keep in mind that the pocket size is not the same as the pole size. You need a bit of extra room for the pole to slide in with ease. For a one-inch pole, a two-inch pocket is usually just right. If you have a thick three-inch pipe, you might need a five-inch sleeve. Your print shop can help you find the best fit for your hardware.
The pocket also changes the final size of your art. The shop uses part of the banner cloth to make the loop. This means some of your image might get folded over or sewn into the seam. When you plan your art, keep your text and logos away from the very top and bottom edges. This ensures your message stays fully clear once the banner is on the pole.
For some jobs, grommets are still the way to go. Grommets use small brass rings that are about half an inch in diameter. They are great for fences or walls where you can use zip ties. But for a banner that needs to hang straight and look sharp on a pole, the pocket is often the better choice.
How to choose a finish before ordering
You must plan for the local weather before you buy your large sign. In Portland, wind and rain often pull at outdoor signs. Picking the right finish keeps your brand looking sharp for a long time. It also saves you money on new prints. A good plan helps your team set up the sign fast and without any stress. You should think about the site and the tools you will use to hang the work.Check the wind and site
High winds are a major risk in the North West. You should go to the site and see how much wind hits the area. If the spot is open, wind will push hard on the sign. This can tear the fabric or pull it off the wall. You can find ways to fix this before you order. Research shows that rightly spaced holes can help lower the wind load on big signs. This keeps the sign safe and makes it last longer. For windy spots, you might want to pick a mesh fabric. This type of cloth has tiny holes that let air flow through. If you want a solid look, you can add wind slits. But mesh is often the best choice for big signs in open lots. You should read our buyer’s guide for tips on signs that stand up to the rain and wind. Knowing the site helps you pick the right way to build the sign.Measure for the right fit
You must know how you will hang the banner before you start. Many sites need their own tools. If you plan to hang a sign on a fence, you will need grommets. These are small metal rings set into the edges. They allow you to use zip ties or thin ropes to hold the sign in place. Most signs come with these rings spaced every few feet. This spread helps keep the sign flat and easy to read. If you have poles or stands, you will need pockets. These are sleeves made by folding the edge of the sign back. You then slide the pole through the sleeve. Standard sleeves are two or three inches wide. You must measure your poles to make sure the sleeves fit well. If the sleeve is too tight, you might rip the sign. If it is too loose, the sign may sag. You can find many outdoor banner finishing options to match your needs.Review your art and tools
Your art must fit the finish you choose. When you add hems and rings, you lose some space on the edges. You should keep your logos and text away from the very edge of the file. We call this a safe zone. A two inch safe zone is often enough to keep your art clear. If your text is too close to a ring, it might be hard to see. It can also look messy to your clients. You should also check your tools before the sign arrives. Make sure you have enough zip ties or rope on hand. If you need a lift or a tall ladder, book it early. Having the right tools ready makes the setup go well. You can then show off your new sign as soon as it gets to your door. This helps you start your sales or events on time.Your pre-order checklist
Follow these steps to pick the best finish for your next project.- Visit the site to see how much wind the sign will face. Use mesh for open areas and solid vinyl for spots with some cover.
- Measure the space and the poles you will use. Add a few inches of room for ties so the sign stays tight and does not sag.
- Pick the right rings or sleeves for the job. Use metal rings for fences and wall mounts, or sleeves for stand-alone poles.
- Check your art files for a clear safe zone. Keep all key text at least two inches from the edge to avoid hems and rings.
- Get your ropes and ties ready before the sign comes. This helps your team finish the setup fast and keeps the sign safe from the start.
Installation and care protect the finished banner
Buying a banner is only the first step. To get the most life out of your sign, you must hang it the right way. Proper setup keeps the vinyl from tearing in the wind. It also makes sure your message stays flat and easy to read.
A well-hung sign looks better and lasts much longer than one that sags. Taking the time to do it right saves you money on future costs. It also keeps your brand looking sharp for everyone who passes by.
Tips for a strong setup
Good tension is the key to a strong sign. You should pull the fabric tight so it does not flap. Wind can whip a loose banner around and cause the hems to fail. Use every grommet given to spread the load across the whole edge.
If you skip a hole, the other spots will take too much stress and might rip. Keep the banner away from rough or sharp surfaces. A wall with a jagged edge can slice through vinyl over time. You might want to use a frame to keep the cloth clear of the wall.
When looking at your outdoor banner finishing options, think about how the sign will touch the building. Strong corners help a lot if you plan to use bungees or rope. If you use wind slits, make sure they are placed well.
Studies show that proper hole spacing can help reduce the load on a structure. While some folks think about if slits help on thin vinyl, they are a common part of banner work for windy spots. Always check local rules to see if wind vents are needed for signs hung over a road.
Routine care and checks
Outdoor signs face tough weather every day. You should look at your banner after every big storm. Check the grommets to see if they are pulling out of the fabric. Also, look at the rope or ties to see if they are getting weak.
Sun and cold can make plastic ties snap. Changing a cheap tie now is much better than finding your banner on the ground later. Clean your banner with a soft cloth and mild soap. Do not use harsh cleaners that could strip the ink.
If you need to store the sign, roll it with the image side facing out. This prevents the ink from sticking to itself or cracking. Never fold a banner. Folds create lines that look bad when you hang it back up.
For banners hung high up, get an expert to help. Safety is the top goal when working off the ground. A pro team can check the anchors in the wall to ensure they stay solid. You can find more tips on our outdoor banners page to help you choose the right setup for your space.
- Inspect hardware every few months for rust.
- Ensure even tension across all four corners.
- Clear any dirt that builds up behind the sign.
- Tighten loose cables before the fabric sags.
Frequently Asked Questions
What are the common finishing options for outdoor vinyl banners?
Common options include hemmed edges, grommets, pole pockets, and wind slits. Most outdoor banners come with machine-welded hems that add strength to the material. Metal grommets are often placed in the corners or along the edges to help with hanging. These grommets are commonly spaced every two to three feet, depending on banner size and mounting conditions. Some banners also use pole pockets for mounting or wind slits to help air pass through the sign.
Why are welded hems preferred for outdoor banners?
Welded hems are better than sewn edges because they bond the vinyl material together. This process creates a smooth seam that is very strong and less likely to fray in the wind. These hems are usually one inch wide and help the banner hold its shape over time. Research shows that reinforced hems with PVC-coated webbing can also increase the life of large signs used in windy places like the Portland area.
When should I use wind slits on an outdoor banner?
You should use wind slits when hanging a banner in an open area with high wind. These small cuts let air flow through the sign to reduce the load on the material. While wind slits only provide a small drop in drag, some local groups require them for banners placed over streets or bridges. As stated by The Conversation, these vents help the banner stay more stable in the air during heavy storms.
Do I need grommets for all outdoor banners?
Grommets are not always needed, but they are the most common way to hang a banner. They allow you to use zip ties or ropes to secure the sign to a fence or wall. If you use a pole system, you might need pole pockets instead of grommets. However, grommets remain a standard choice. As noted by Banners.com, standard grommets are made of brass and measure about half an inch across.
Ready to request a quote for your custom outdoor banner?
Waiting to book your new outdoor banners puts your business at risk of losing valuable advertising views during the busy summer season. A sign without the proper finishing can easily tear in just one storm, which means you might have to pay for a new one. Starting your project right now ensures you have high-quality materials ready for use when you need them most for your local marketing. This helps you avoid the high cost of a rush order or the stress of a sudden sign failure at your business site. Our expert team handles all the technical details of your order so you can focus on running your own successful Portland business.
Ready to request a quote? Call (503) 924-6168 to request a quote for a custom outdoor banner.